Having been in the pc editing community for about 6 years, i've dealt with different methods of encoding.
Ofcourse, within AE/SV there are several methods to render your video out, and media encoder offers a great deal of encoding presets for web.
For external encoders, the most easy to use and the one i've always used is Handbrake. Handbrake has, in comparison to MeGUI a fairly easy to use GUI.
Other people have been speculating MeGUI has always been the better encoder, but the interface can be quite intimidating to users not familiar with rendering
I went through the effort of putting together encoding results for each method, including a newer method, using FFMPEG and the windows command line
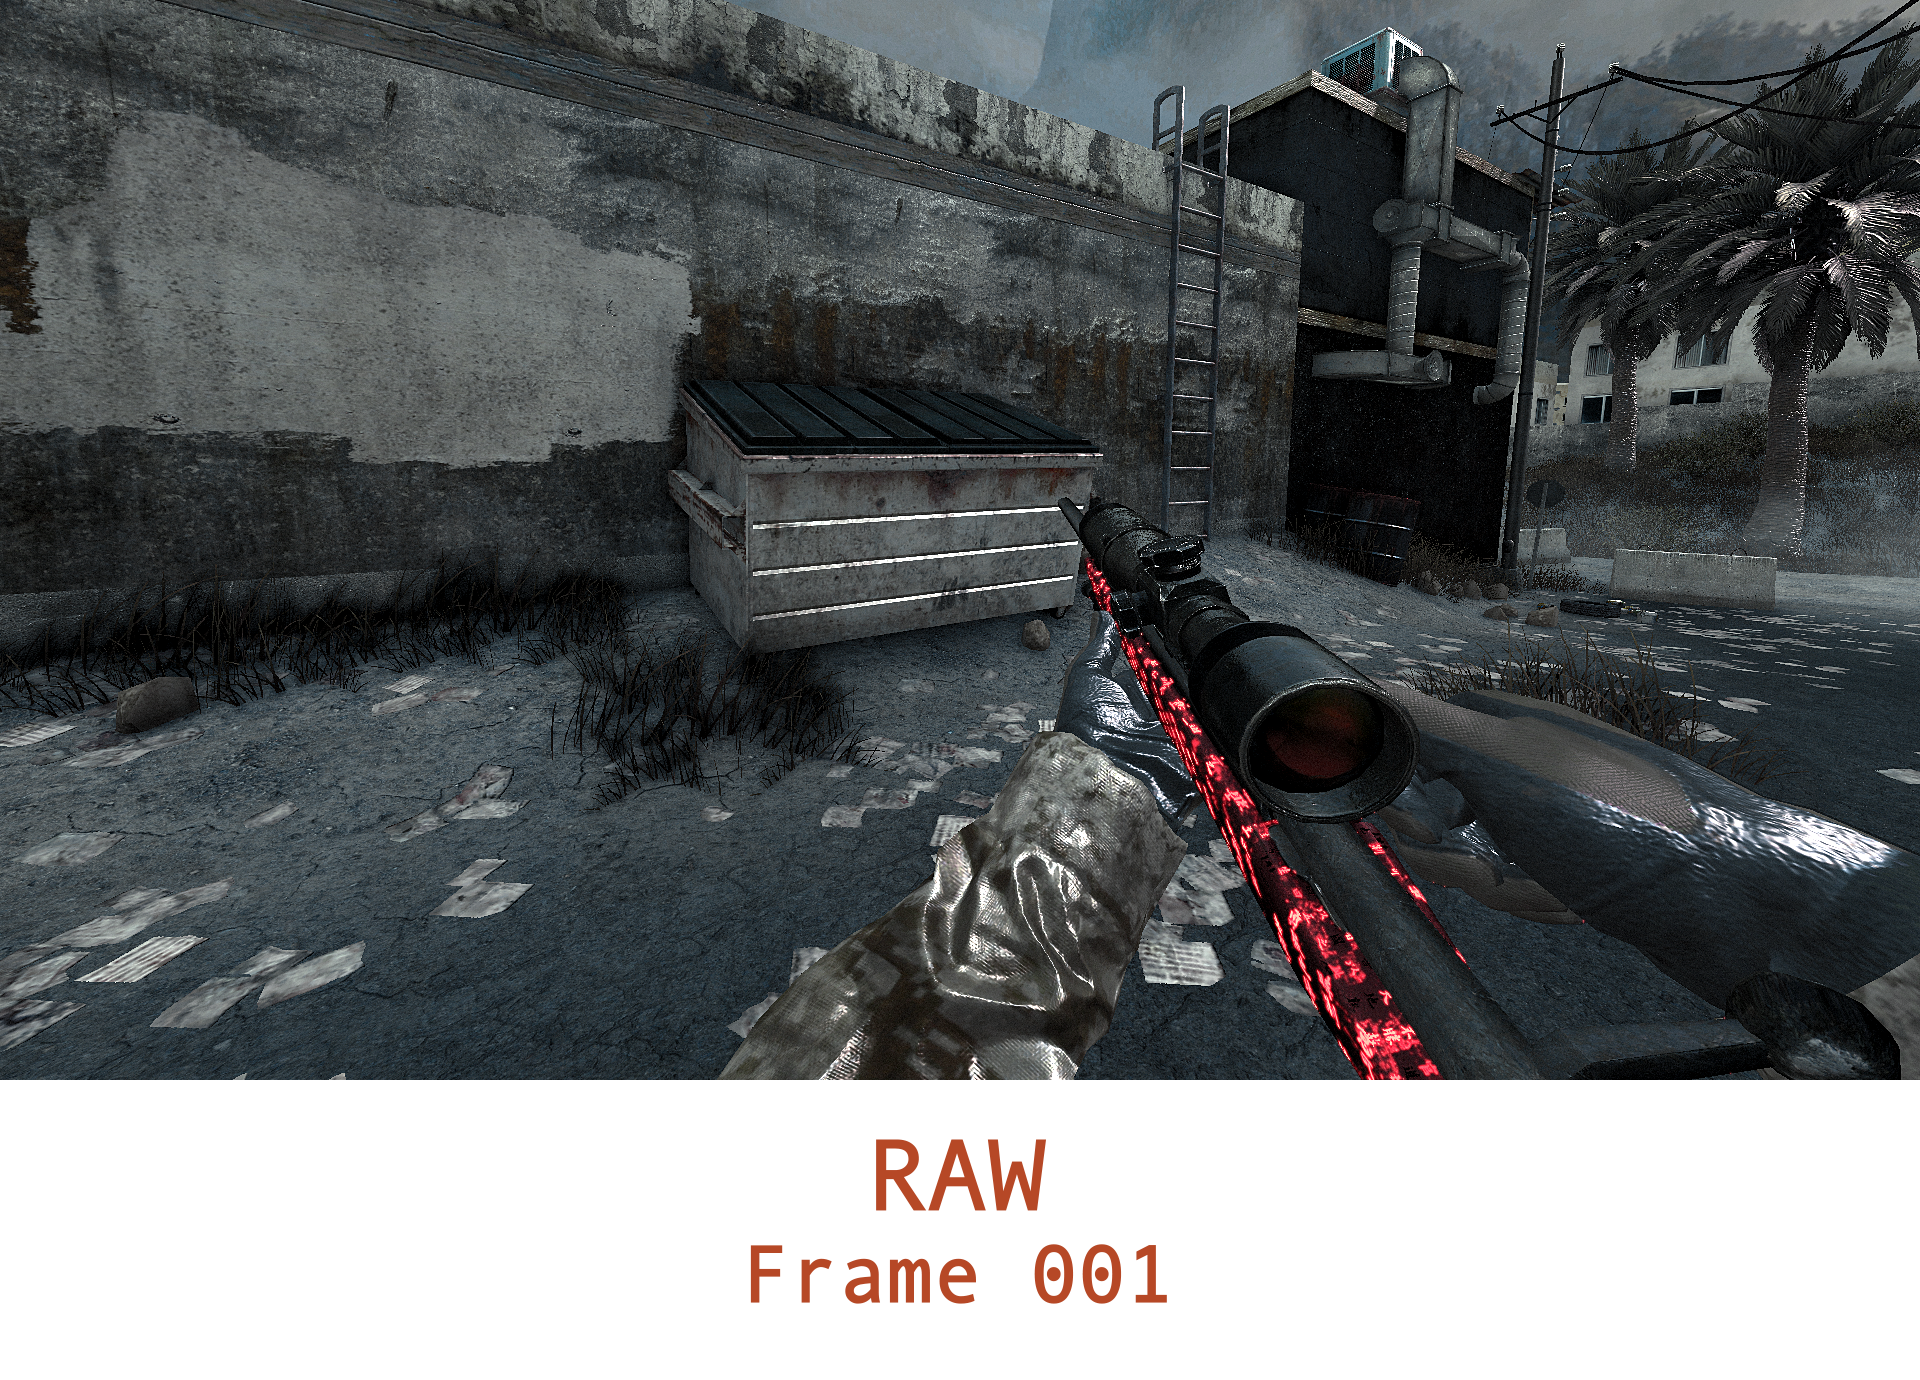
First, i rendered an image sequence directly from the game engine, editing it comes next, which was done in AE. (Add some cc-lens, directional blur, s_glow, whatever you're into!)
Rendering it out of AE is the easy part, i would recommend rendering as lossless (format: .AVI), or as image sequence with a separate audio track, preferably PNG or TGA
You can put the image sequence and audio track together in VirtualDub.
Vdub:
After installing, open VirtualDub and drag the first image of the sequence into the window. Press Ctrl+R to set the framerate (Must be the same as your AE composition, Press Ctrl+K in AE to check this)
Go to the Audio menu, hit 'Audio from other file' and select your audio file, you'll see a window pop up. I'm not quite sure what to put here, but i always go with 'autodetect'
Additionally, you can change the compression by hitting Ctrl+P. This is where you can select the Lagarith lossless codec
If you're using vegas, make sure to render as uncompressed as well
Remember, we're rendering in an uncompressed format. The filesize will be high, so make sure you have enough space available on your hard drive
a video containing 250 1920x1080 frames will be around 1.40GB
At this stage, we're ready to compress!
Below you can see the results of each compression method
Click on the names to see the settings used for the final results
Render times may vary depending on computer speeds.
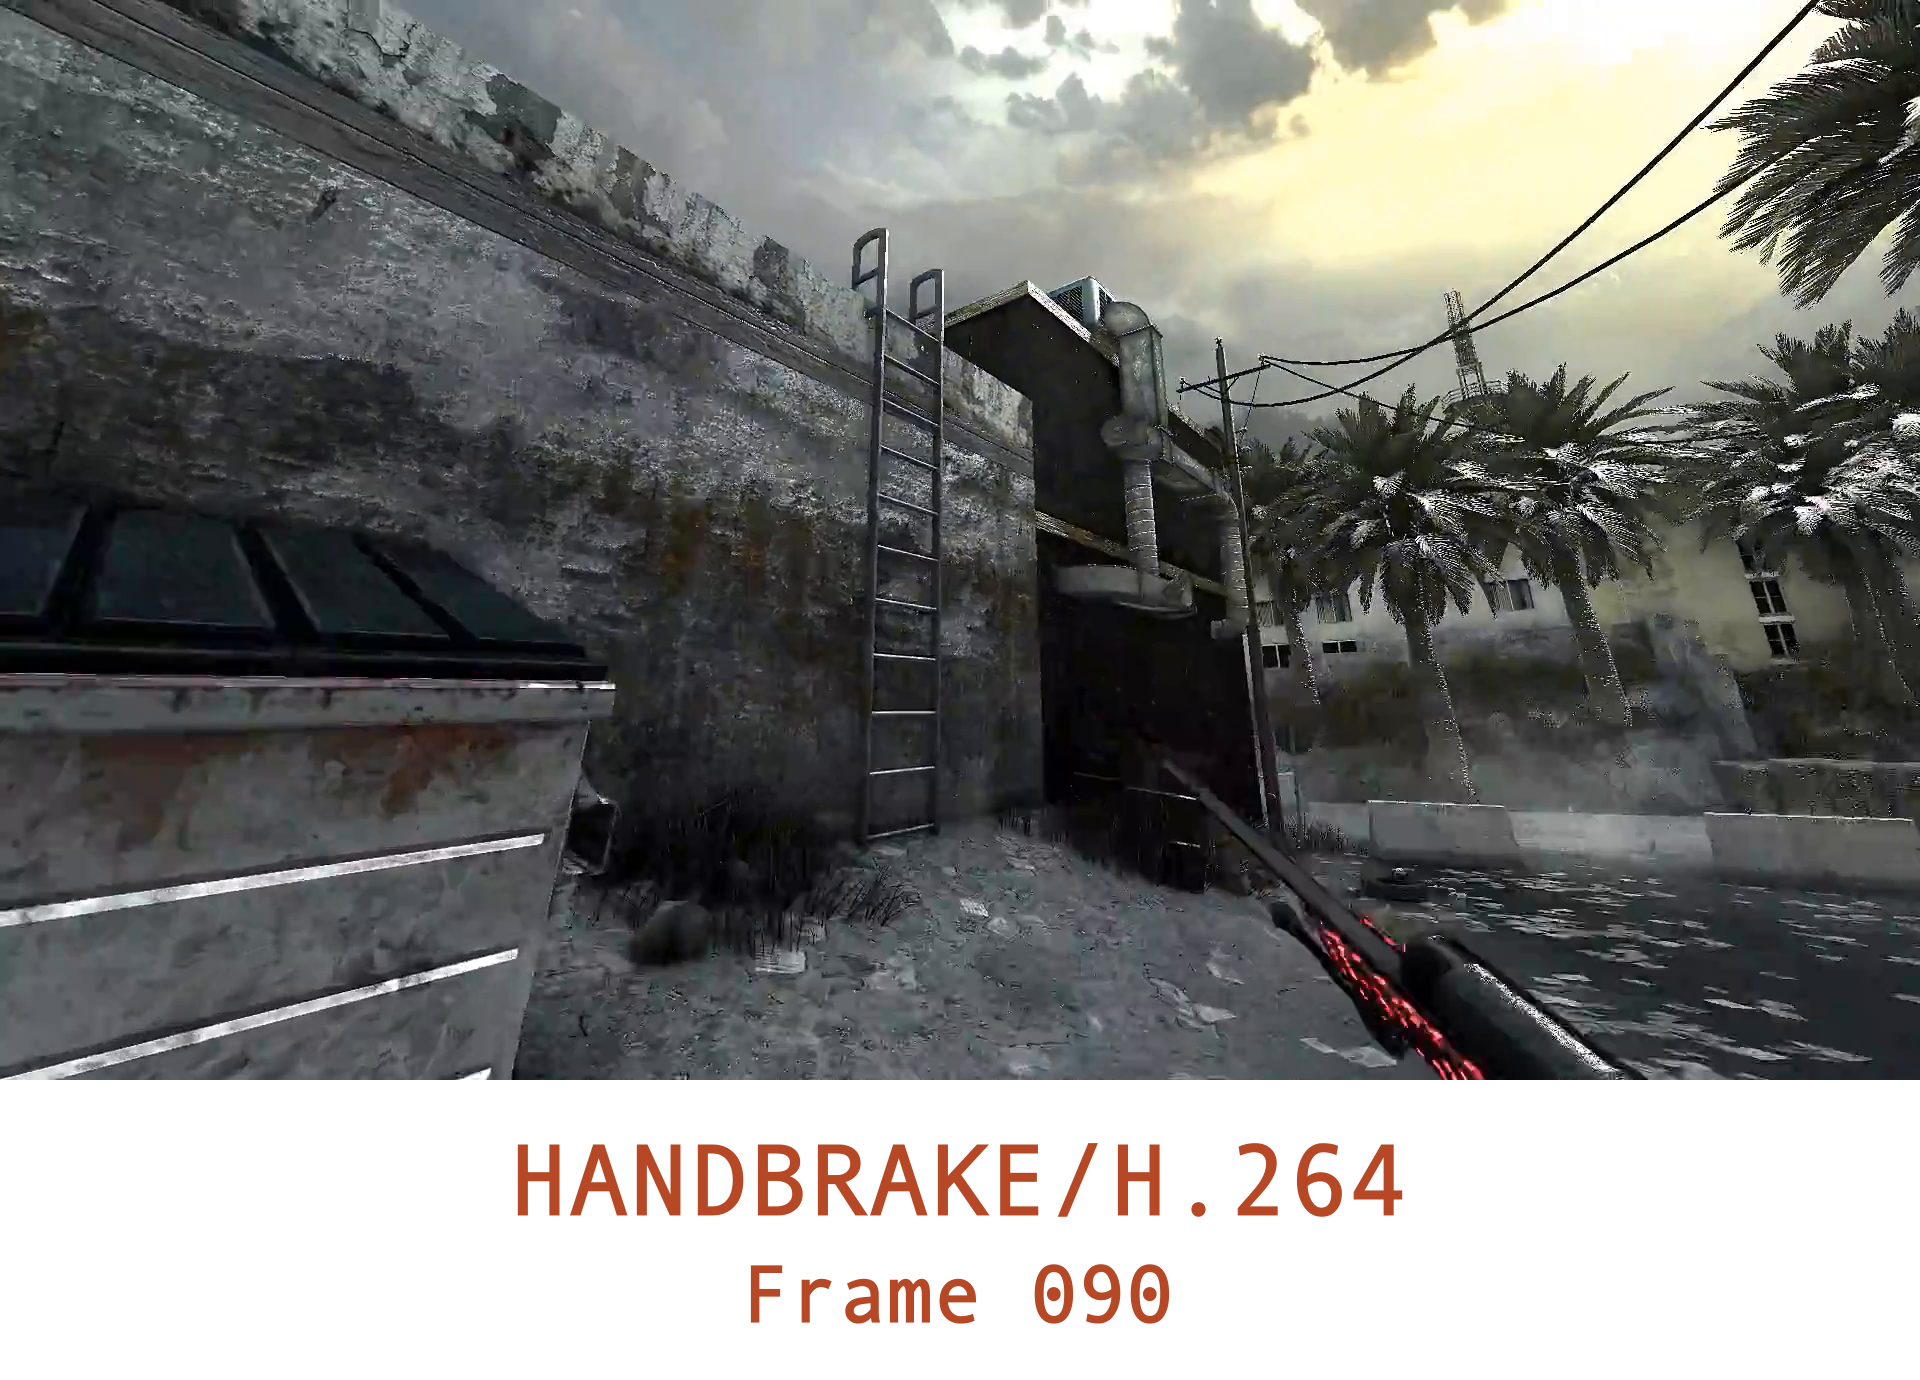
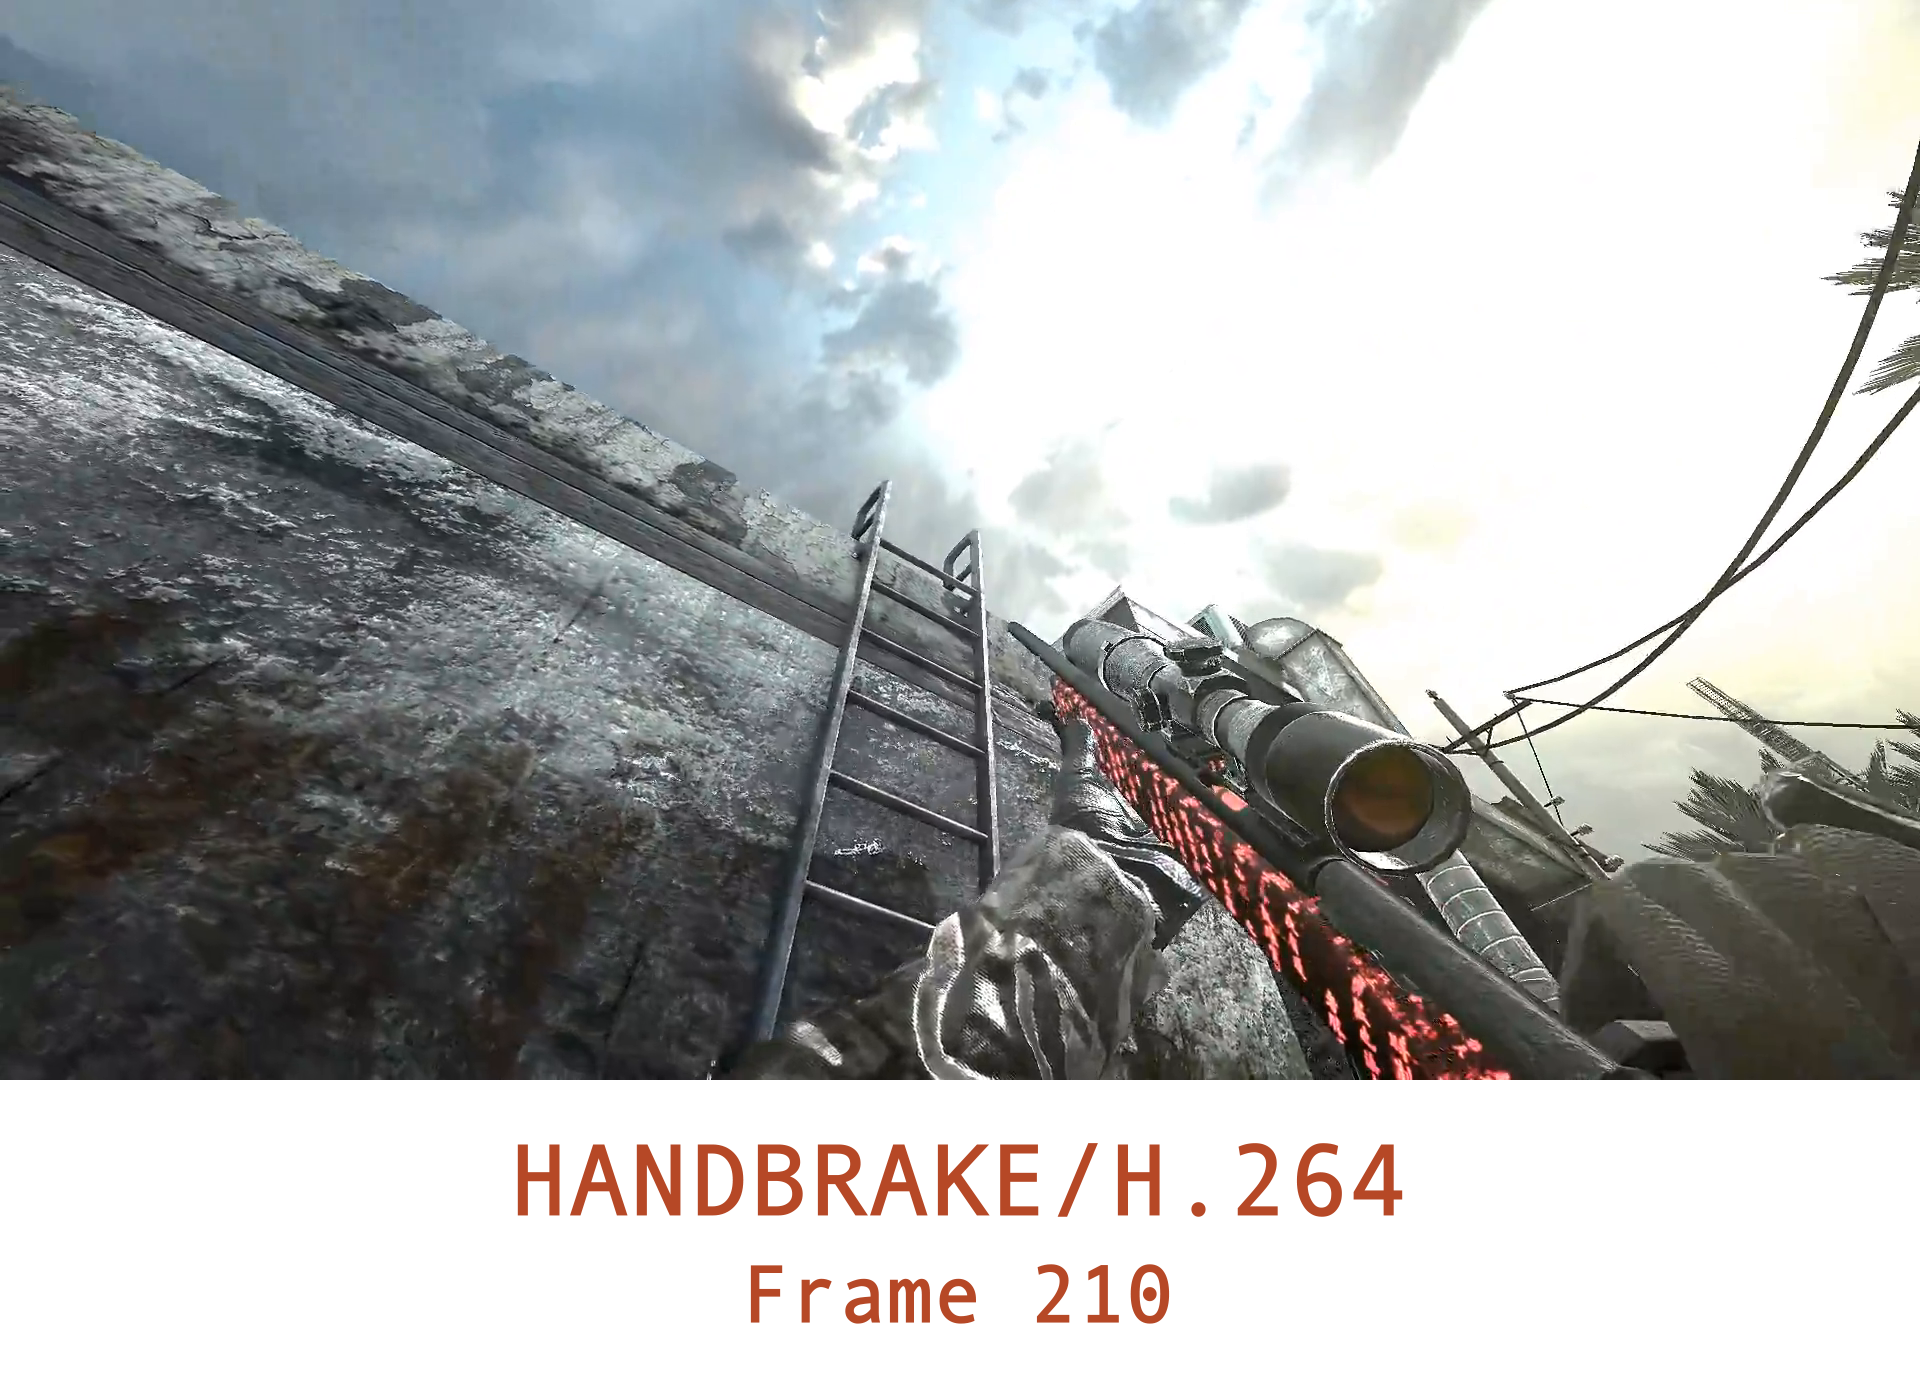
#Method 1, Handbrake
encoding time: 0.13 Frames/second
Length: 00:00:05
Size: 60 MB
MB/S: 12
Frame width: 1920
Frame height: 1080
Framerate: 48 Frames/second
Extension .mp4
Codec: h.264
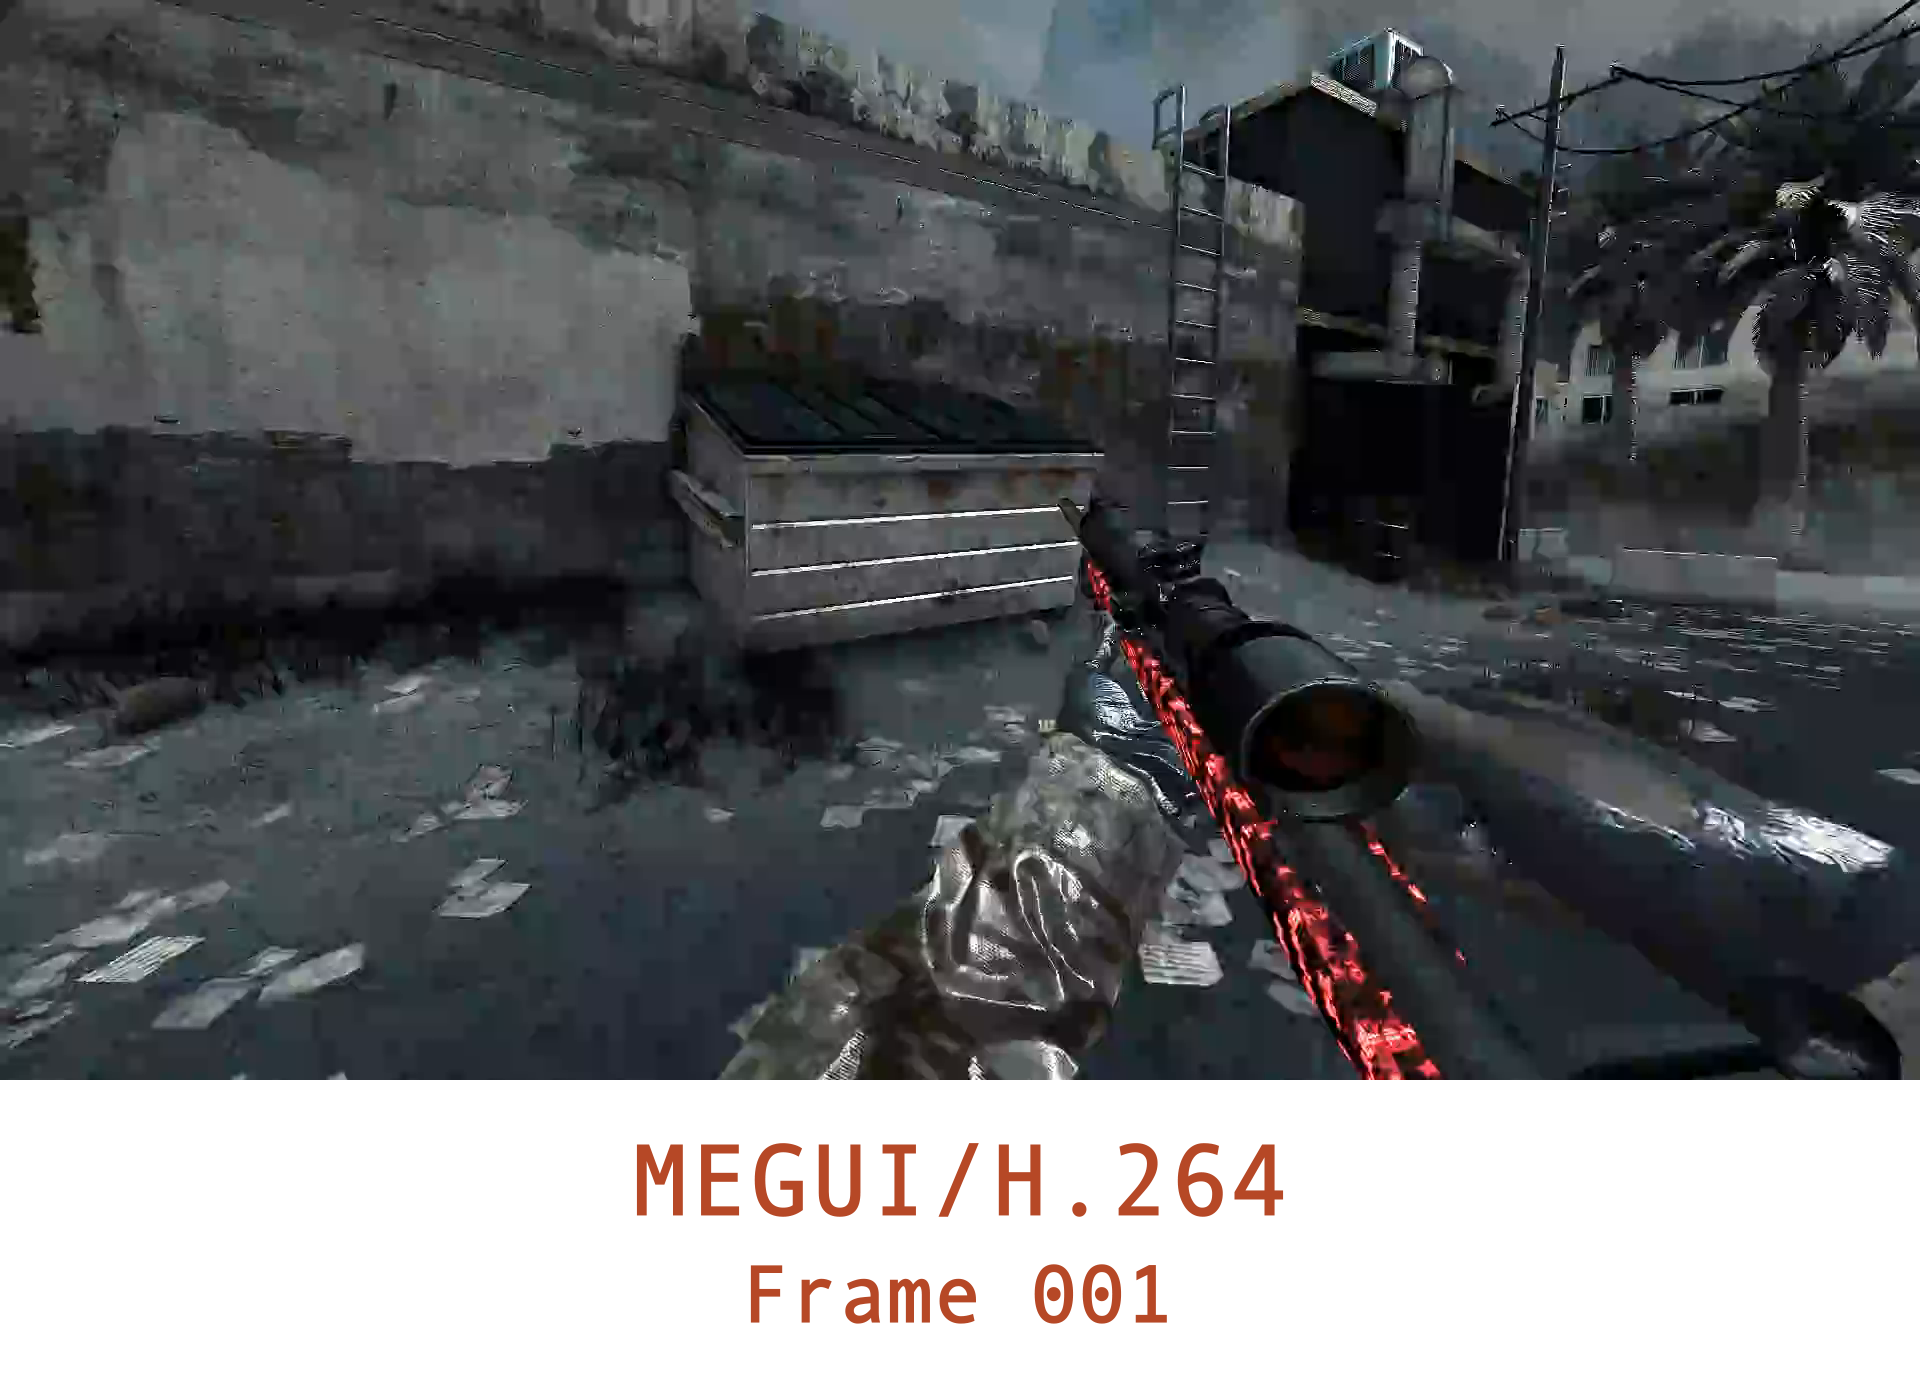
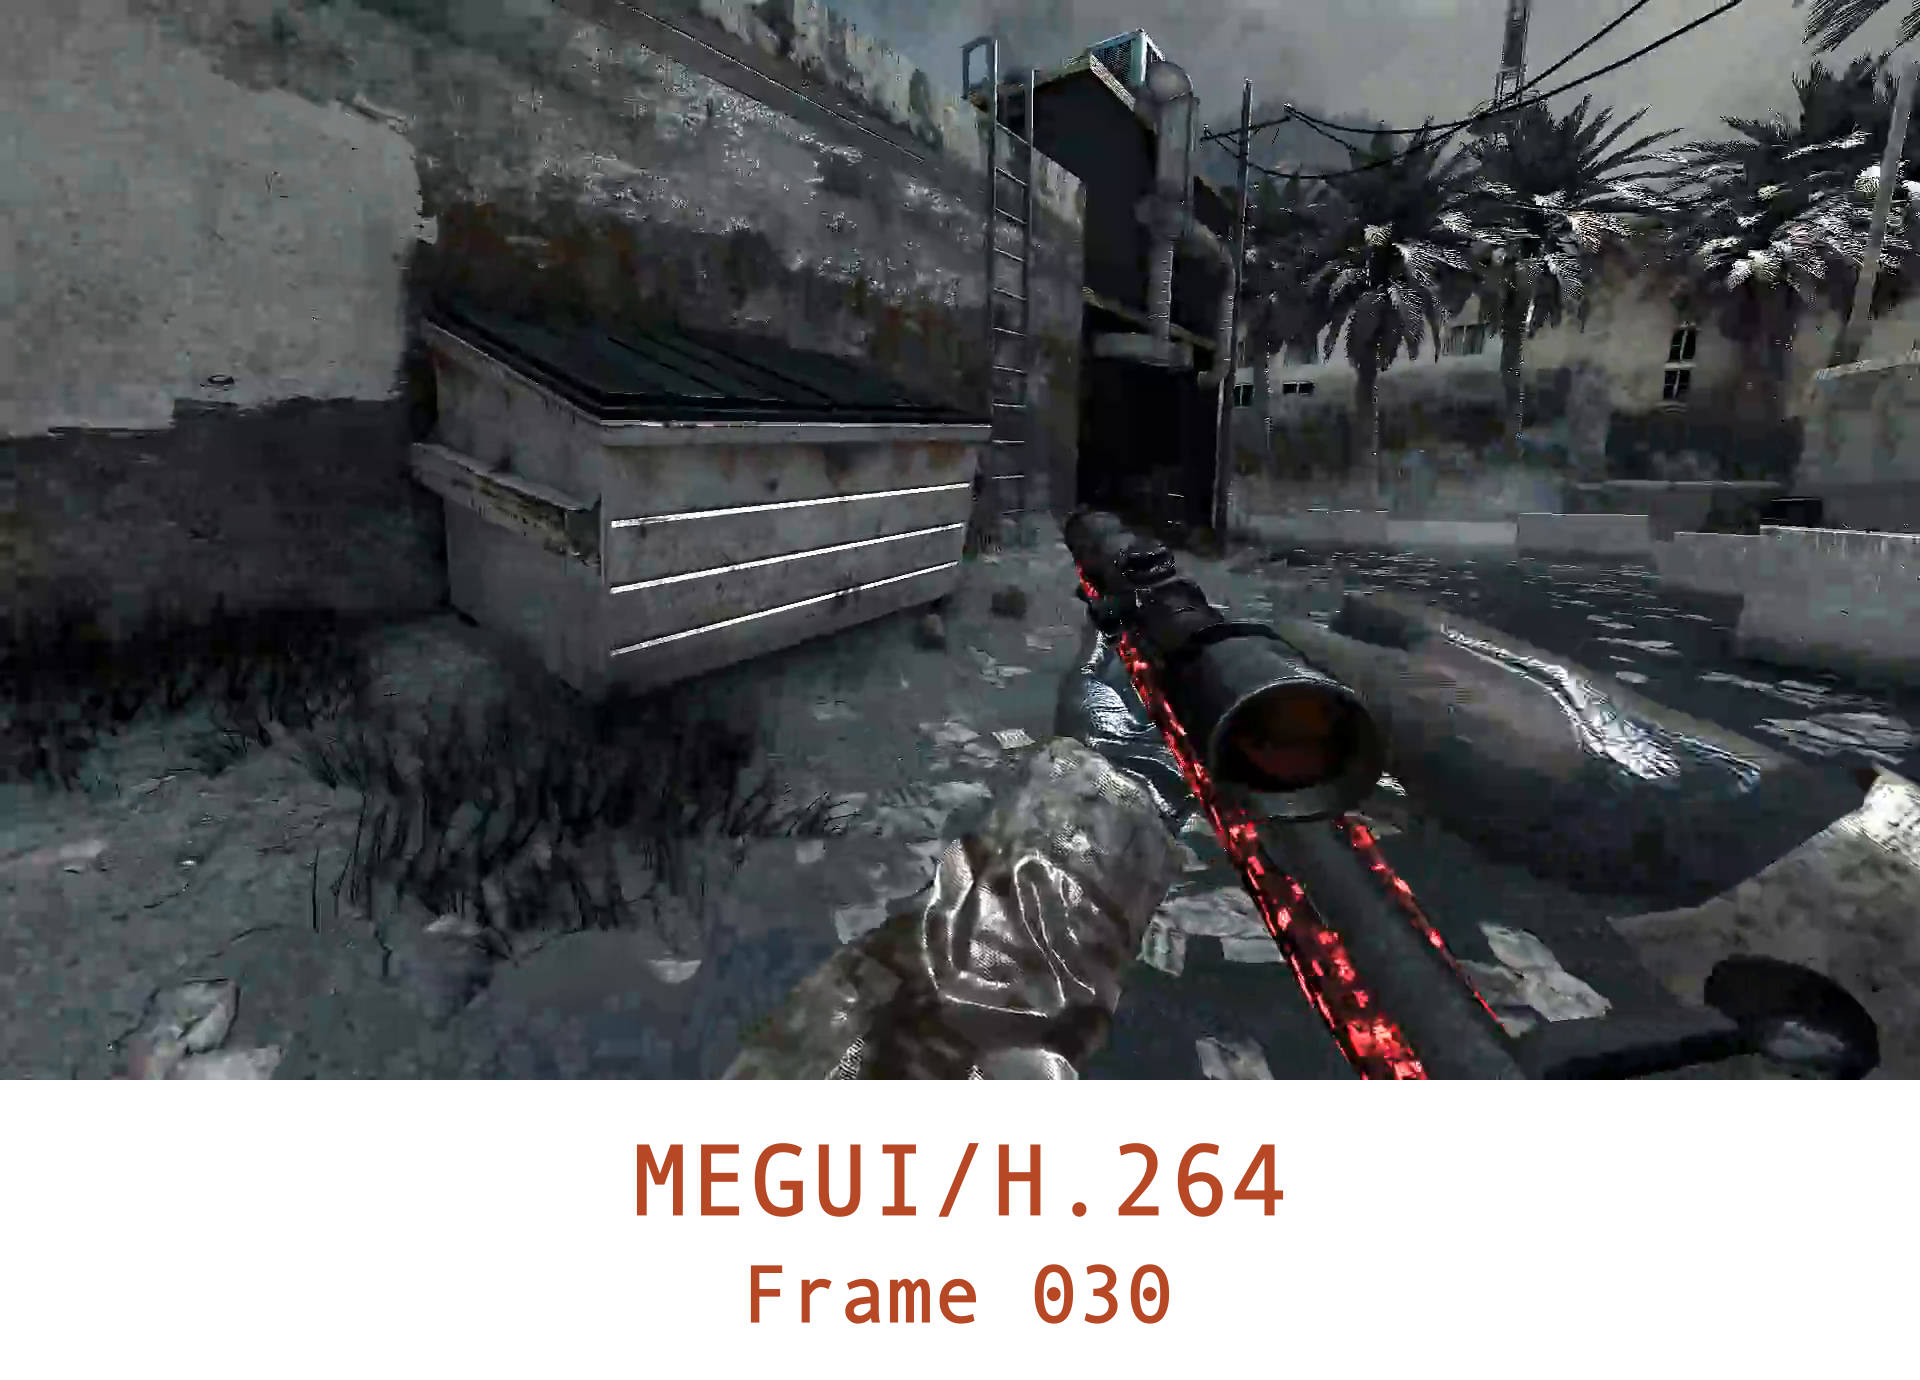
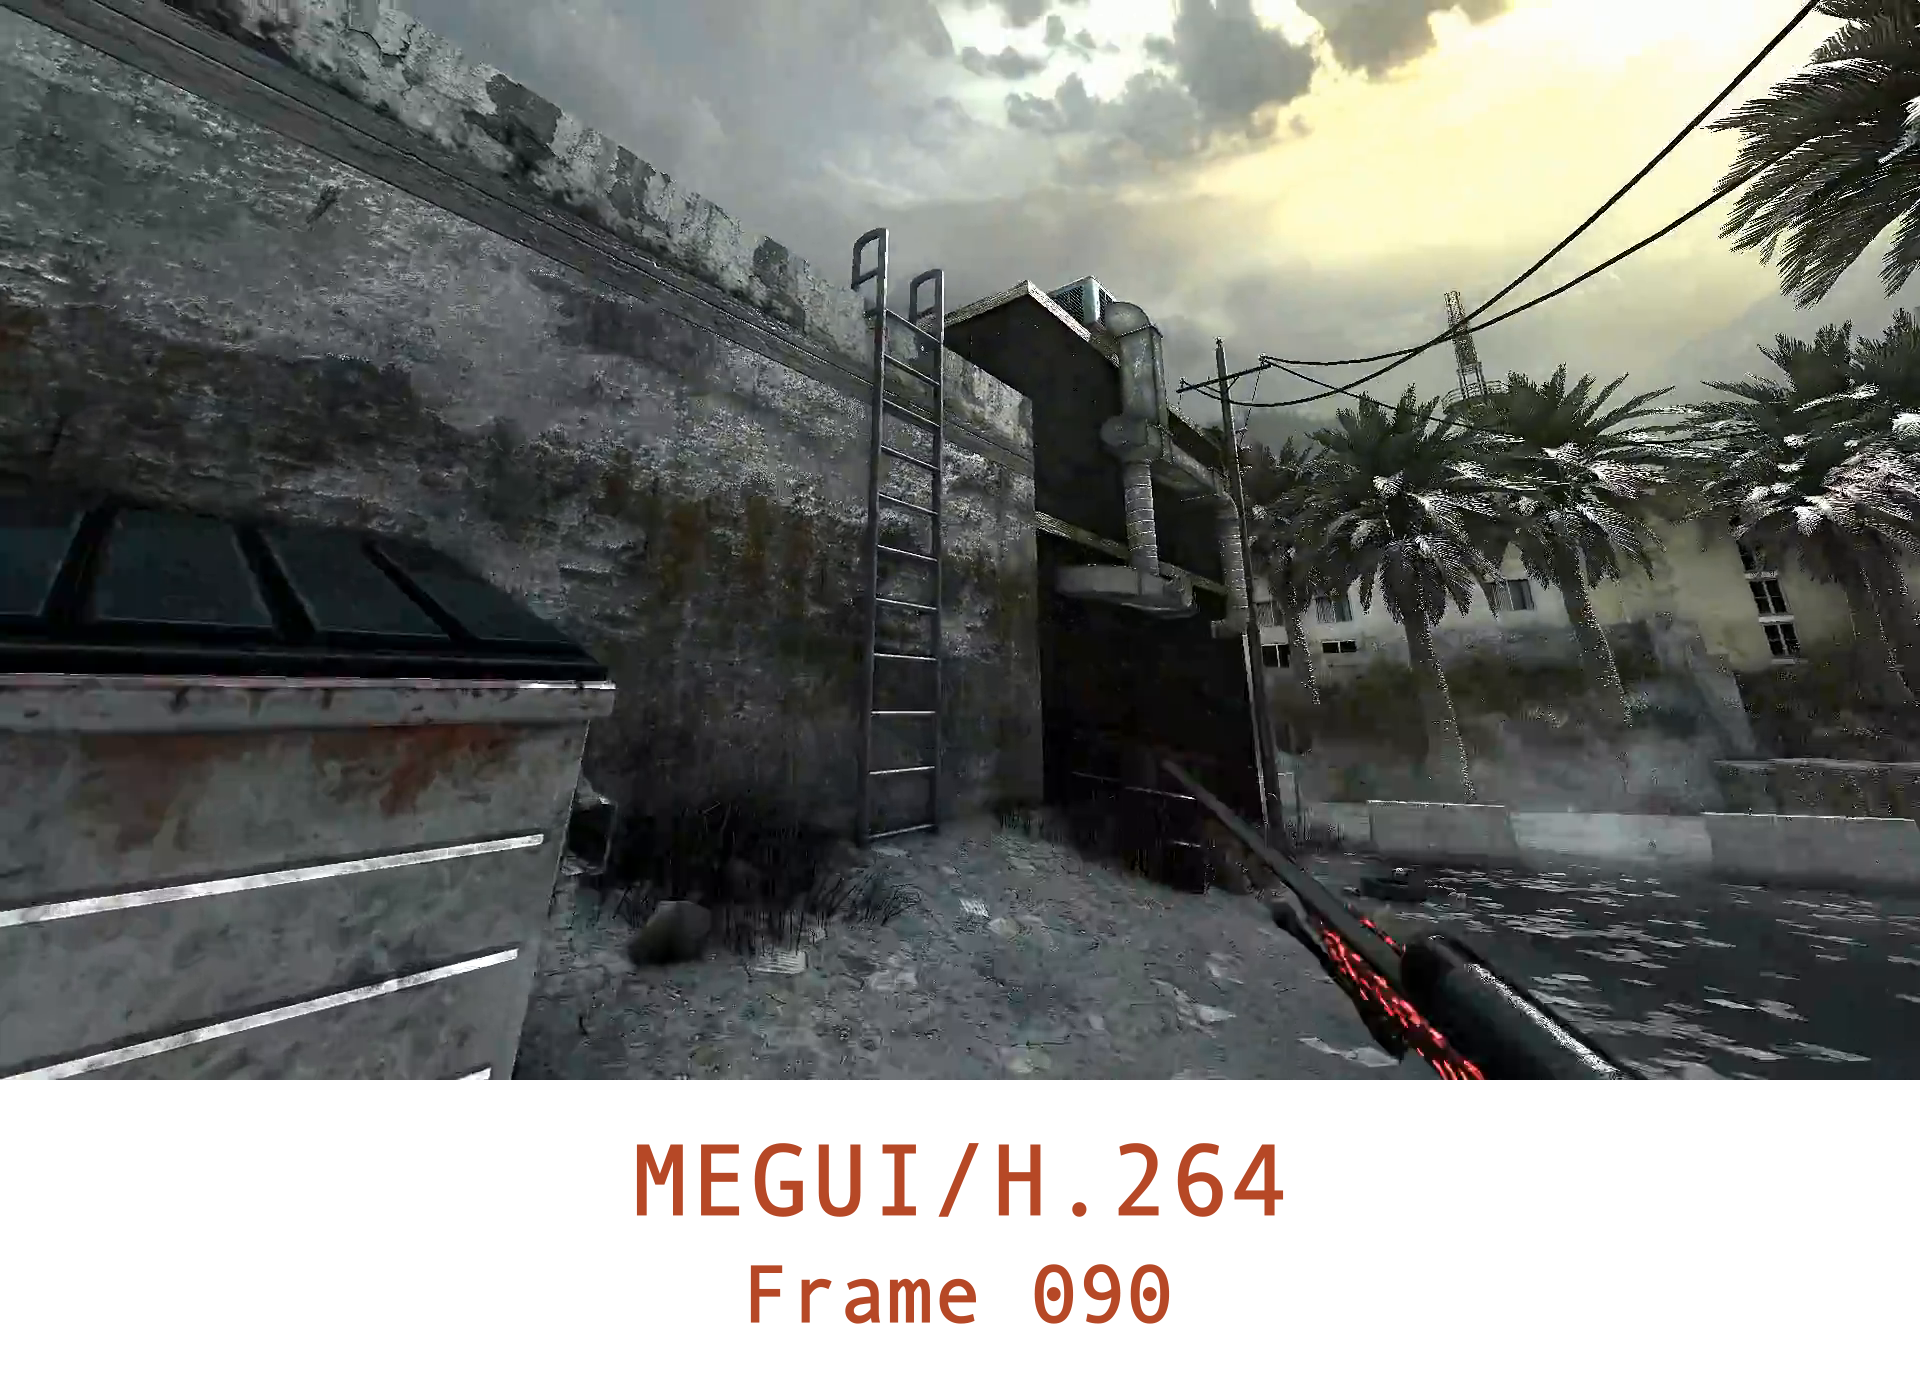
#Method 2, MeGUI
encoding time: 0.10 Frames/second
Length: 00:00:05
Size: 141 MB
MB/S: 12
Frame width: 1920
Frame height: 1080
Framerate: 48 Frames/second
Extension .mp4
Codec: h.264
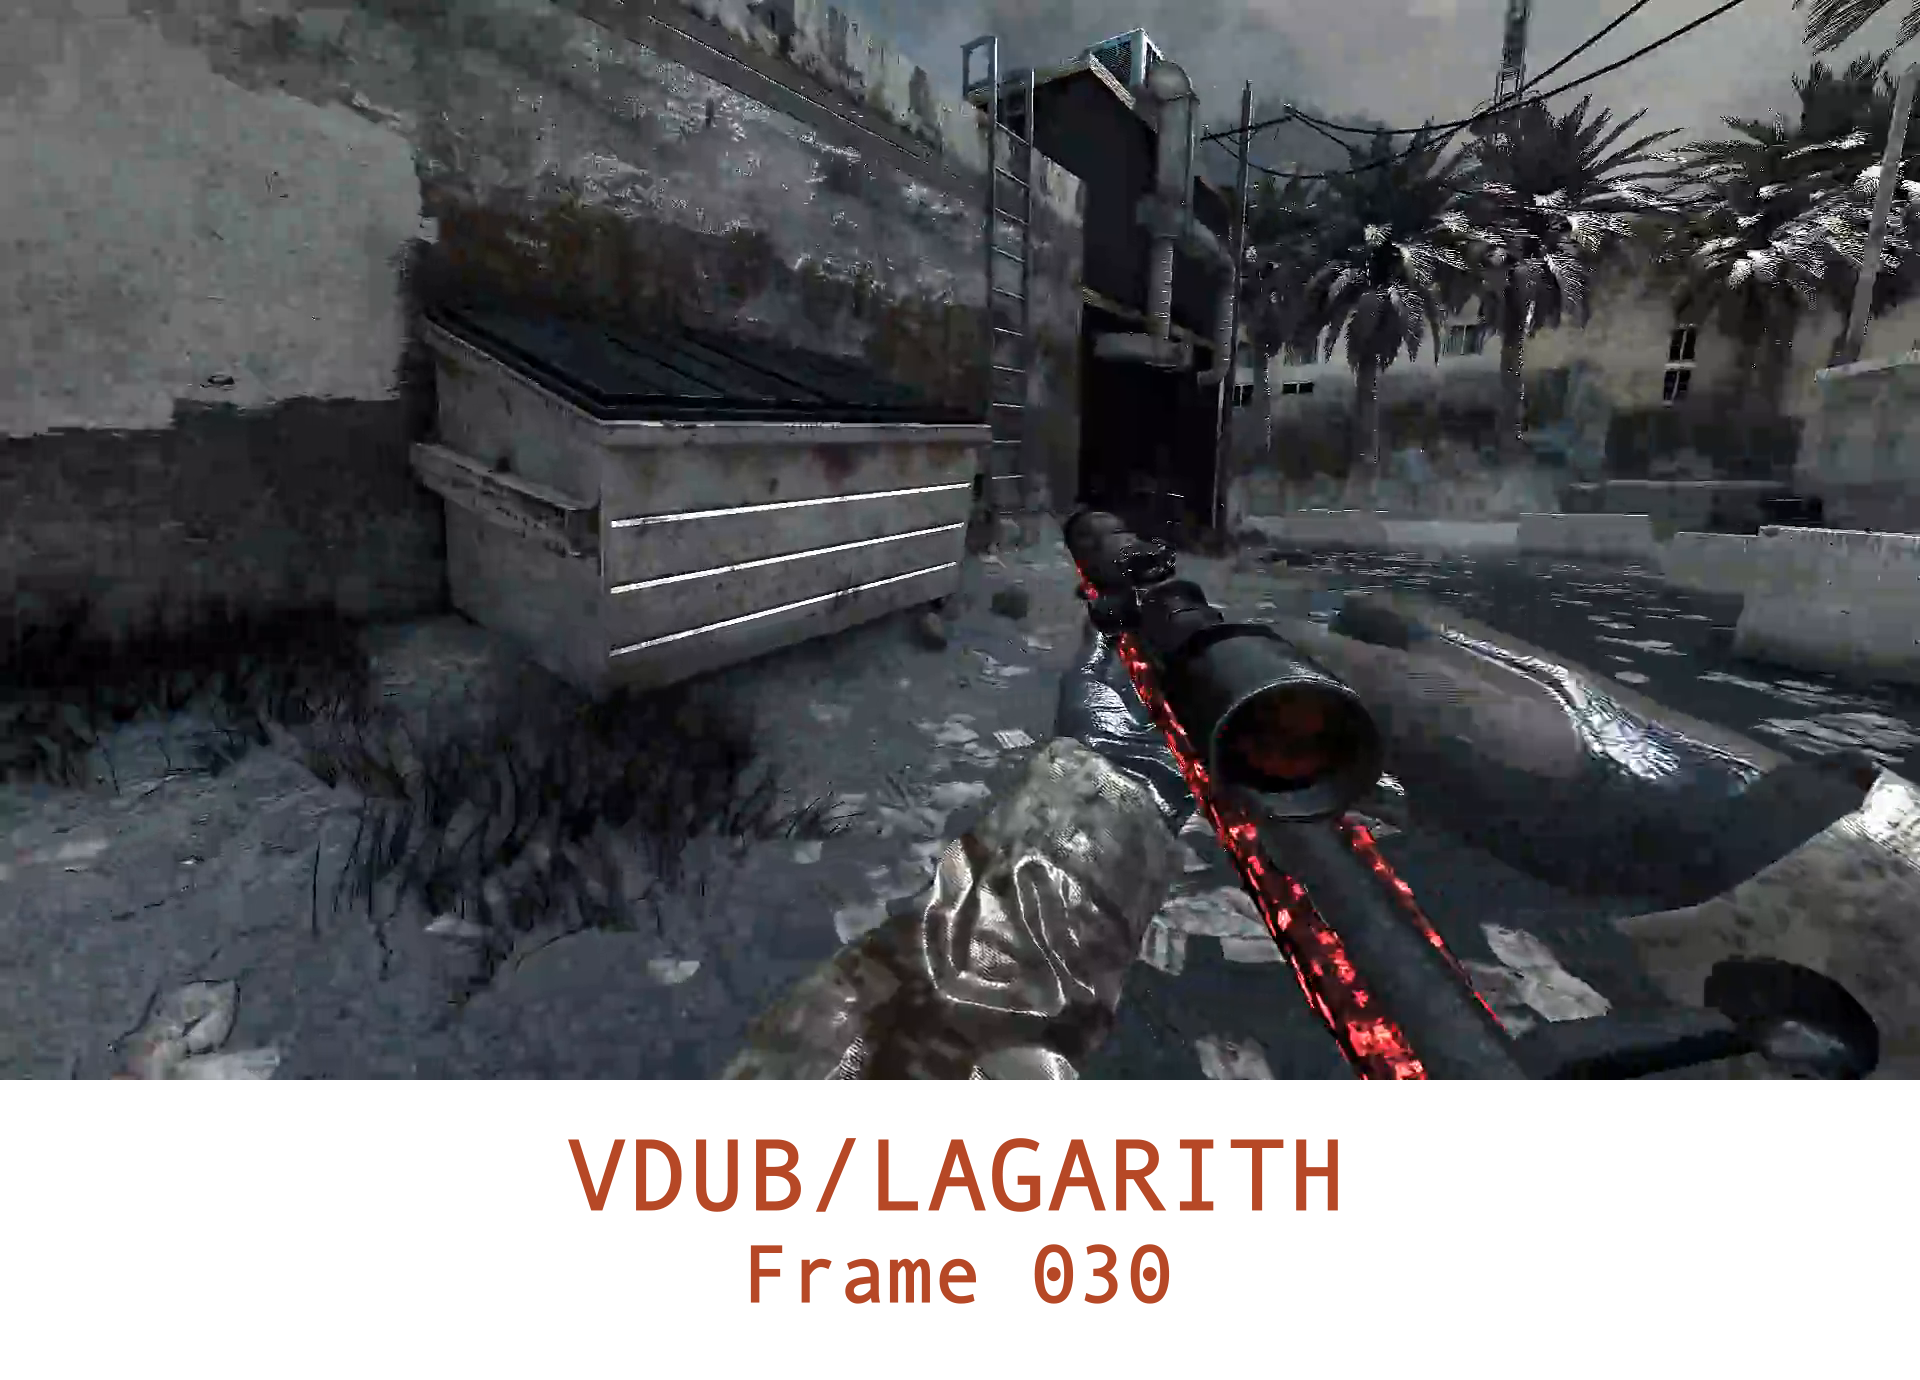
#Method 3, Vdub/Vegas
Length: 00:00:05
Size: 693 MB
MB/S: 180
Frame width: 1920
Frame height: 1080
Framerate: 48 frames/second
Extension .avi
Codec: Lagarith Lossless
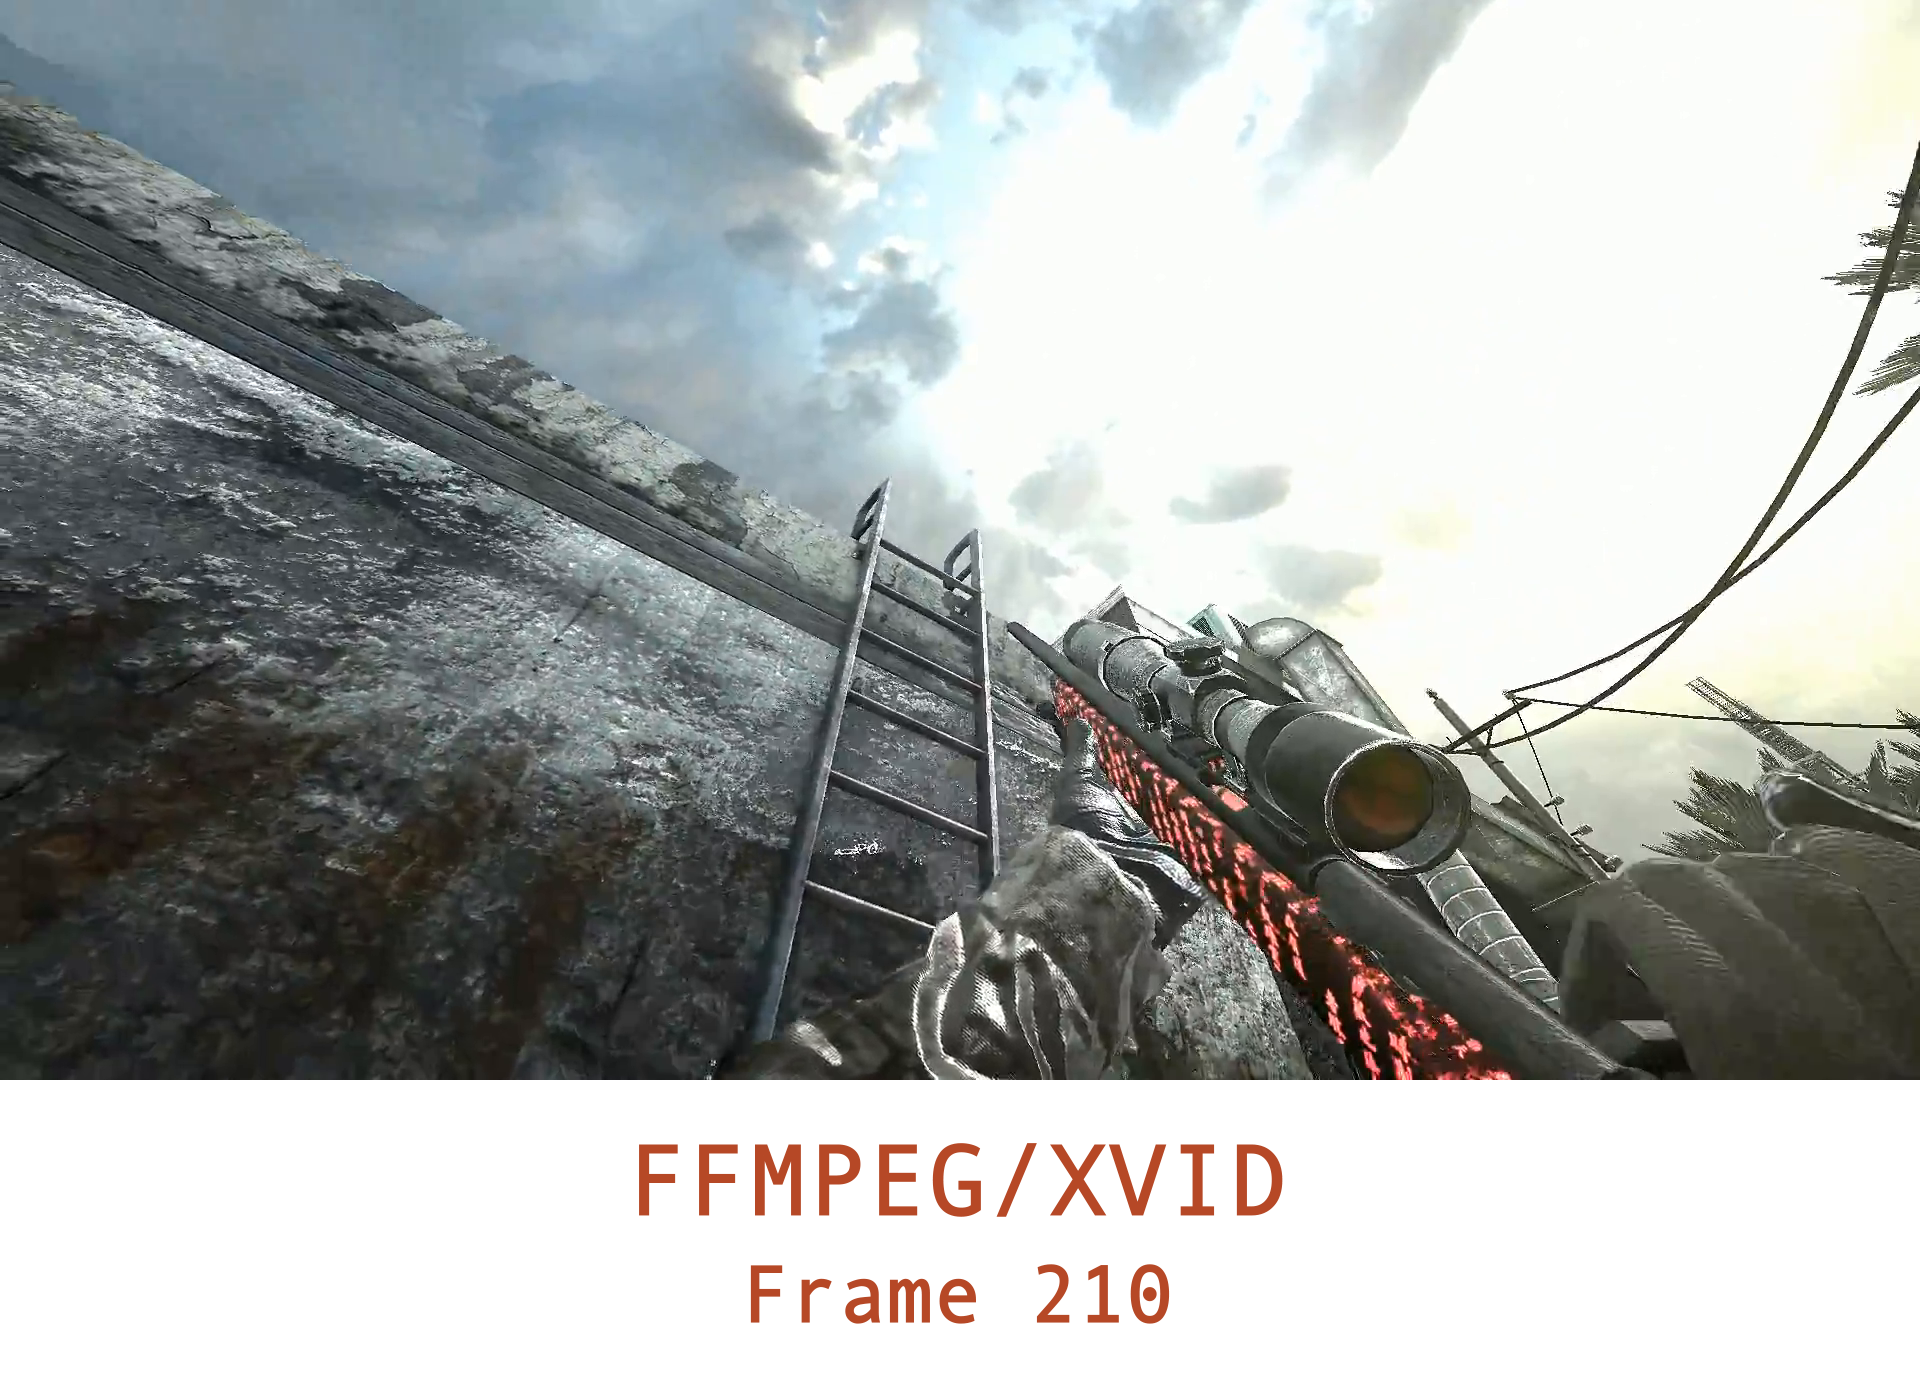
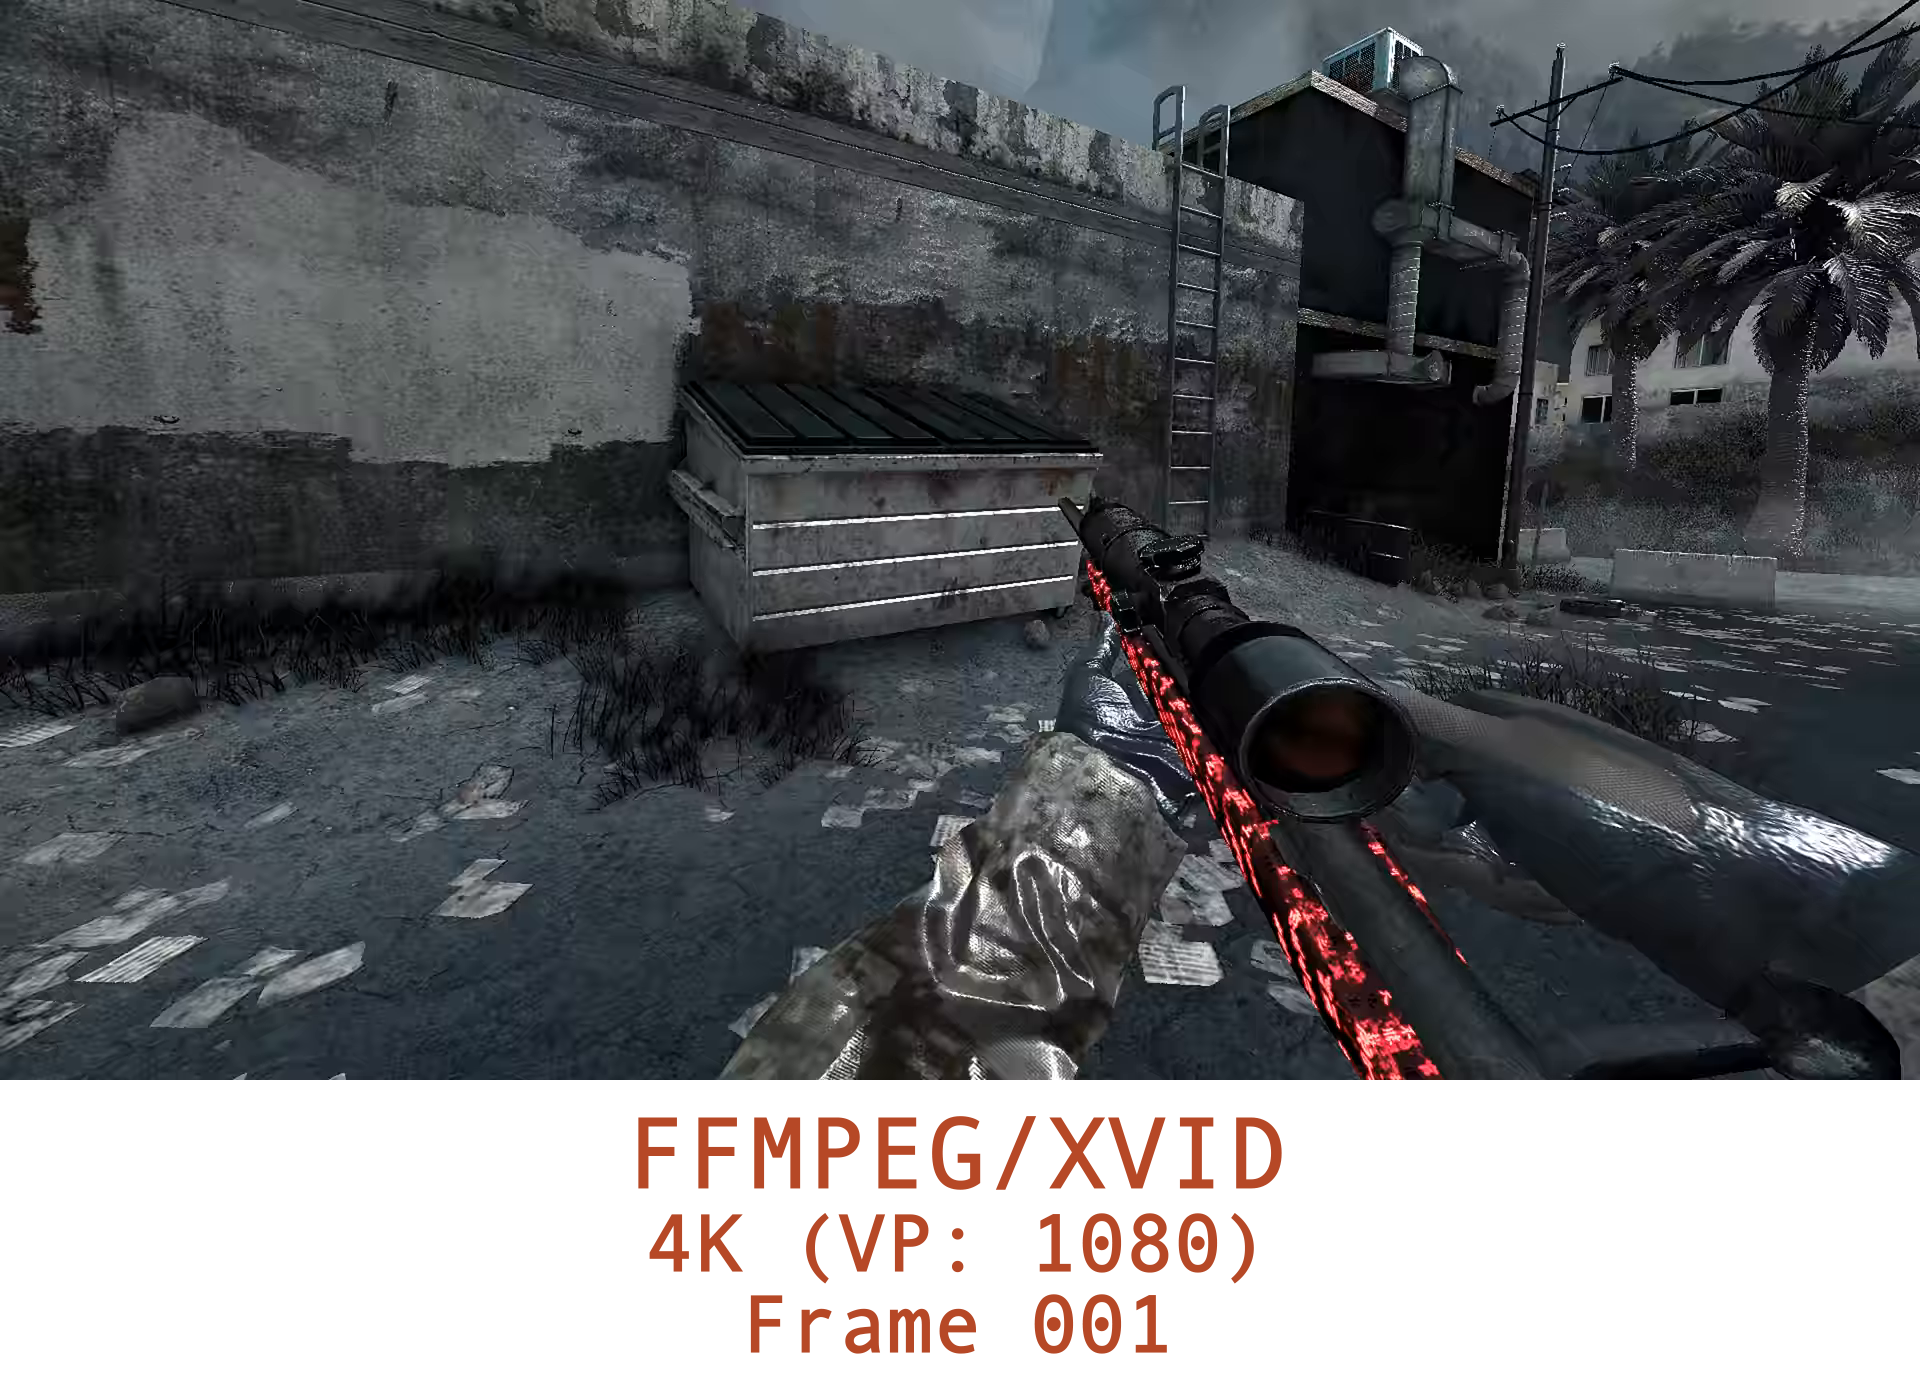
#Method 4, FFMPEG/Commandline
encoding time: ~20 Frames/second
Length: 00:00:05
Size: 199 MB
MB/S: 38
Frame width: 3840
Frame height: 2160
Framerate: 48 Frames/second
Extension .avi
Codec: xvid
Conclusion
As it turns out, no matter what you choose, MeGUI, Handbrake, FFMPEG or VDUB, the results are very similar.
Comparisons:
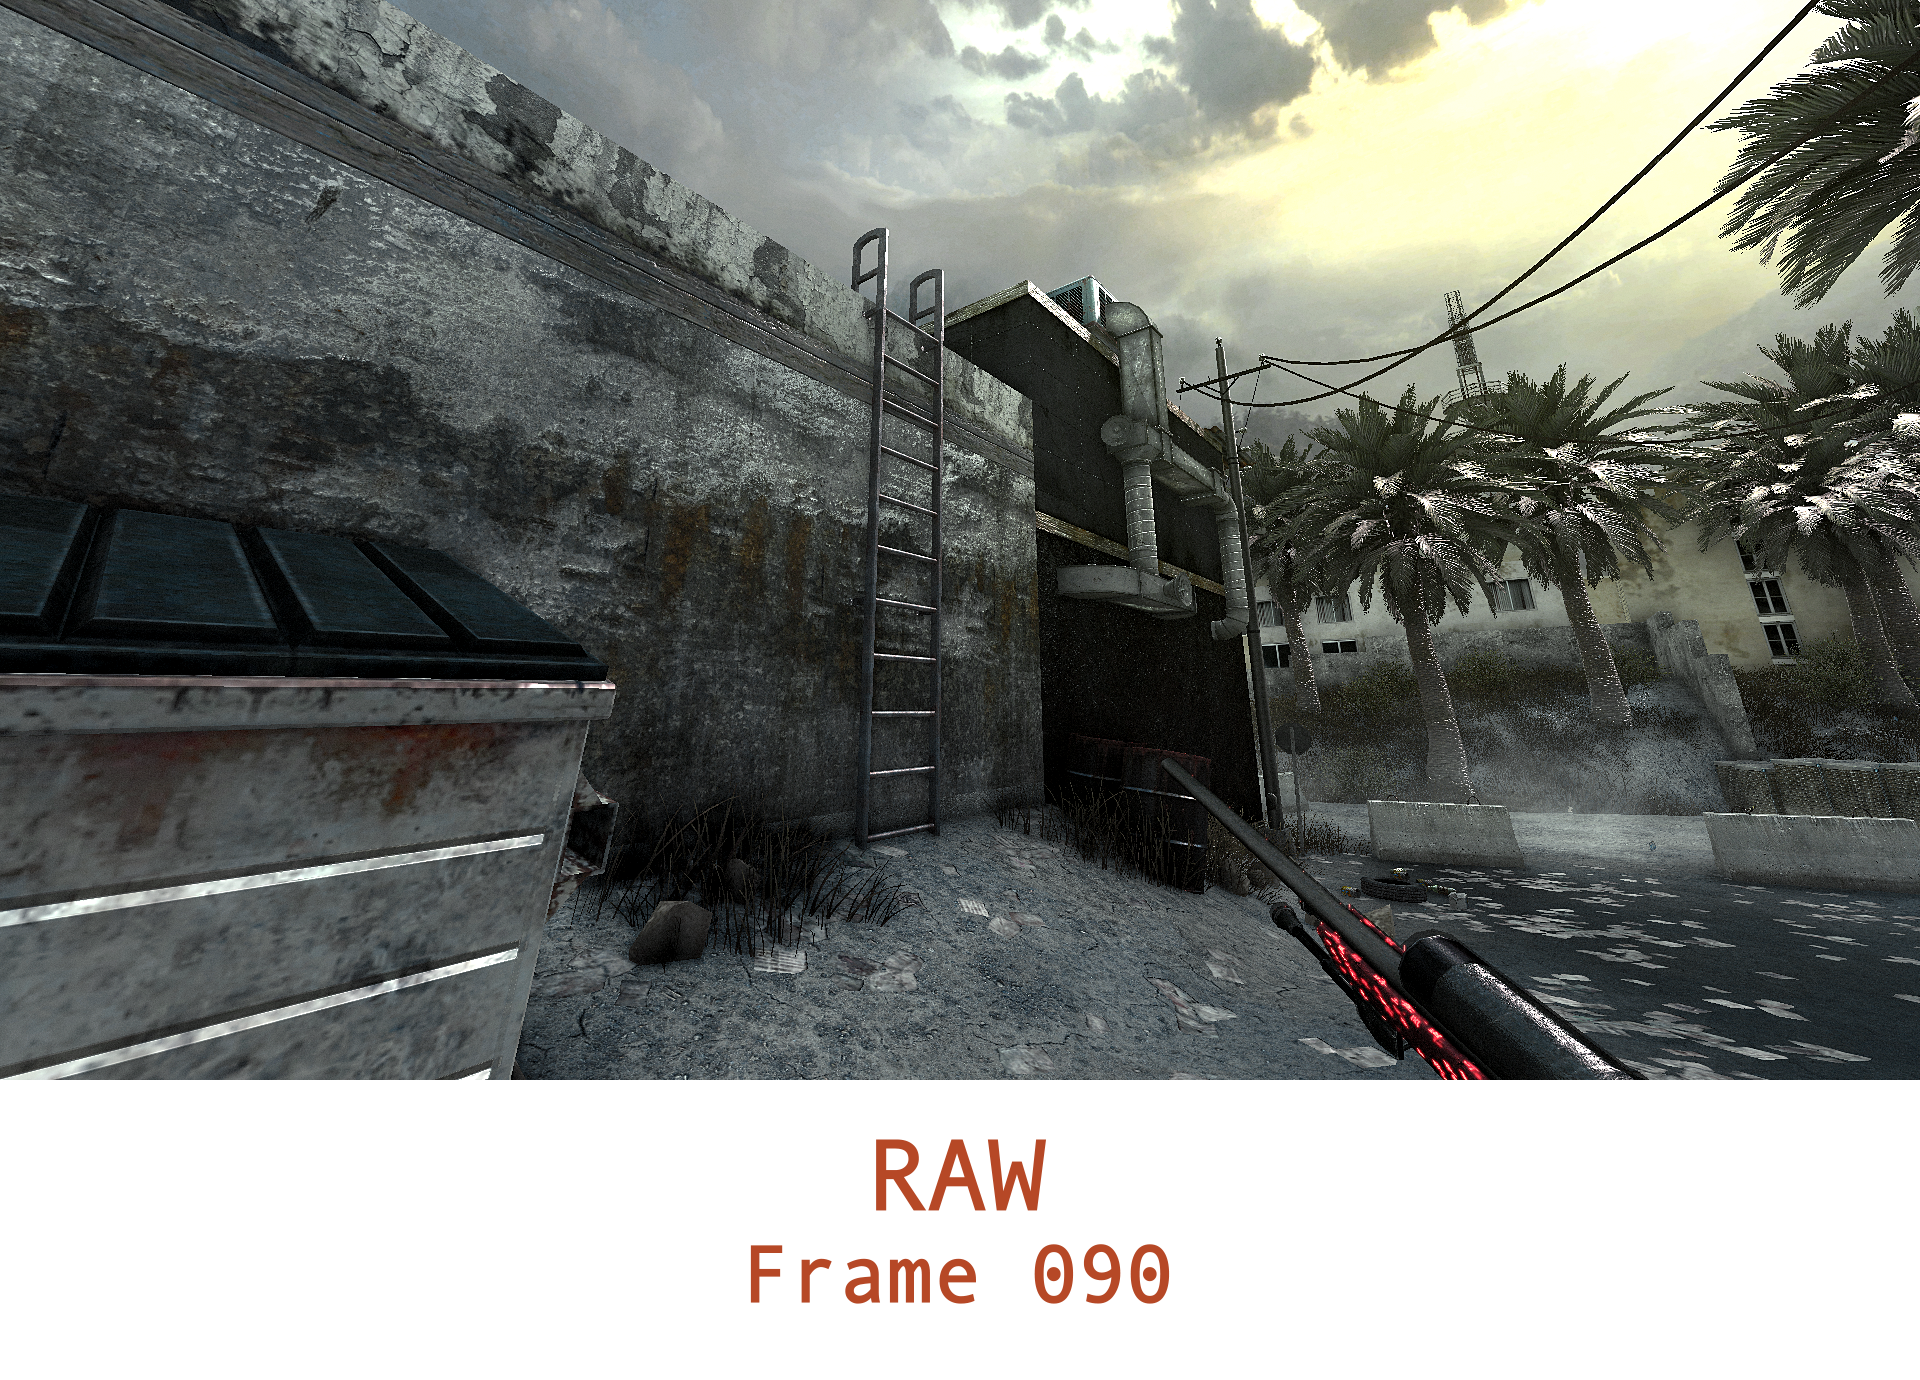
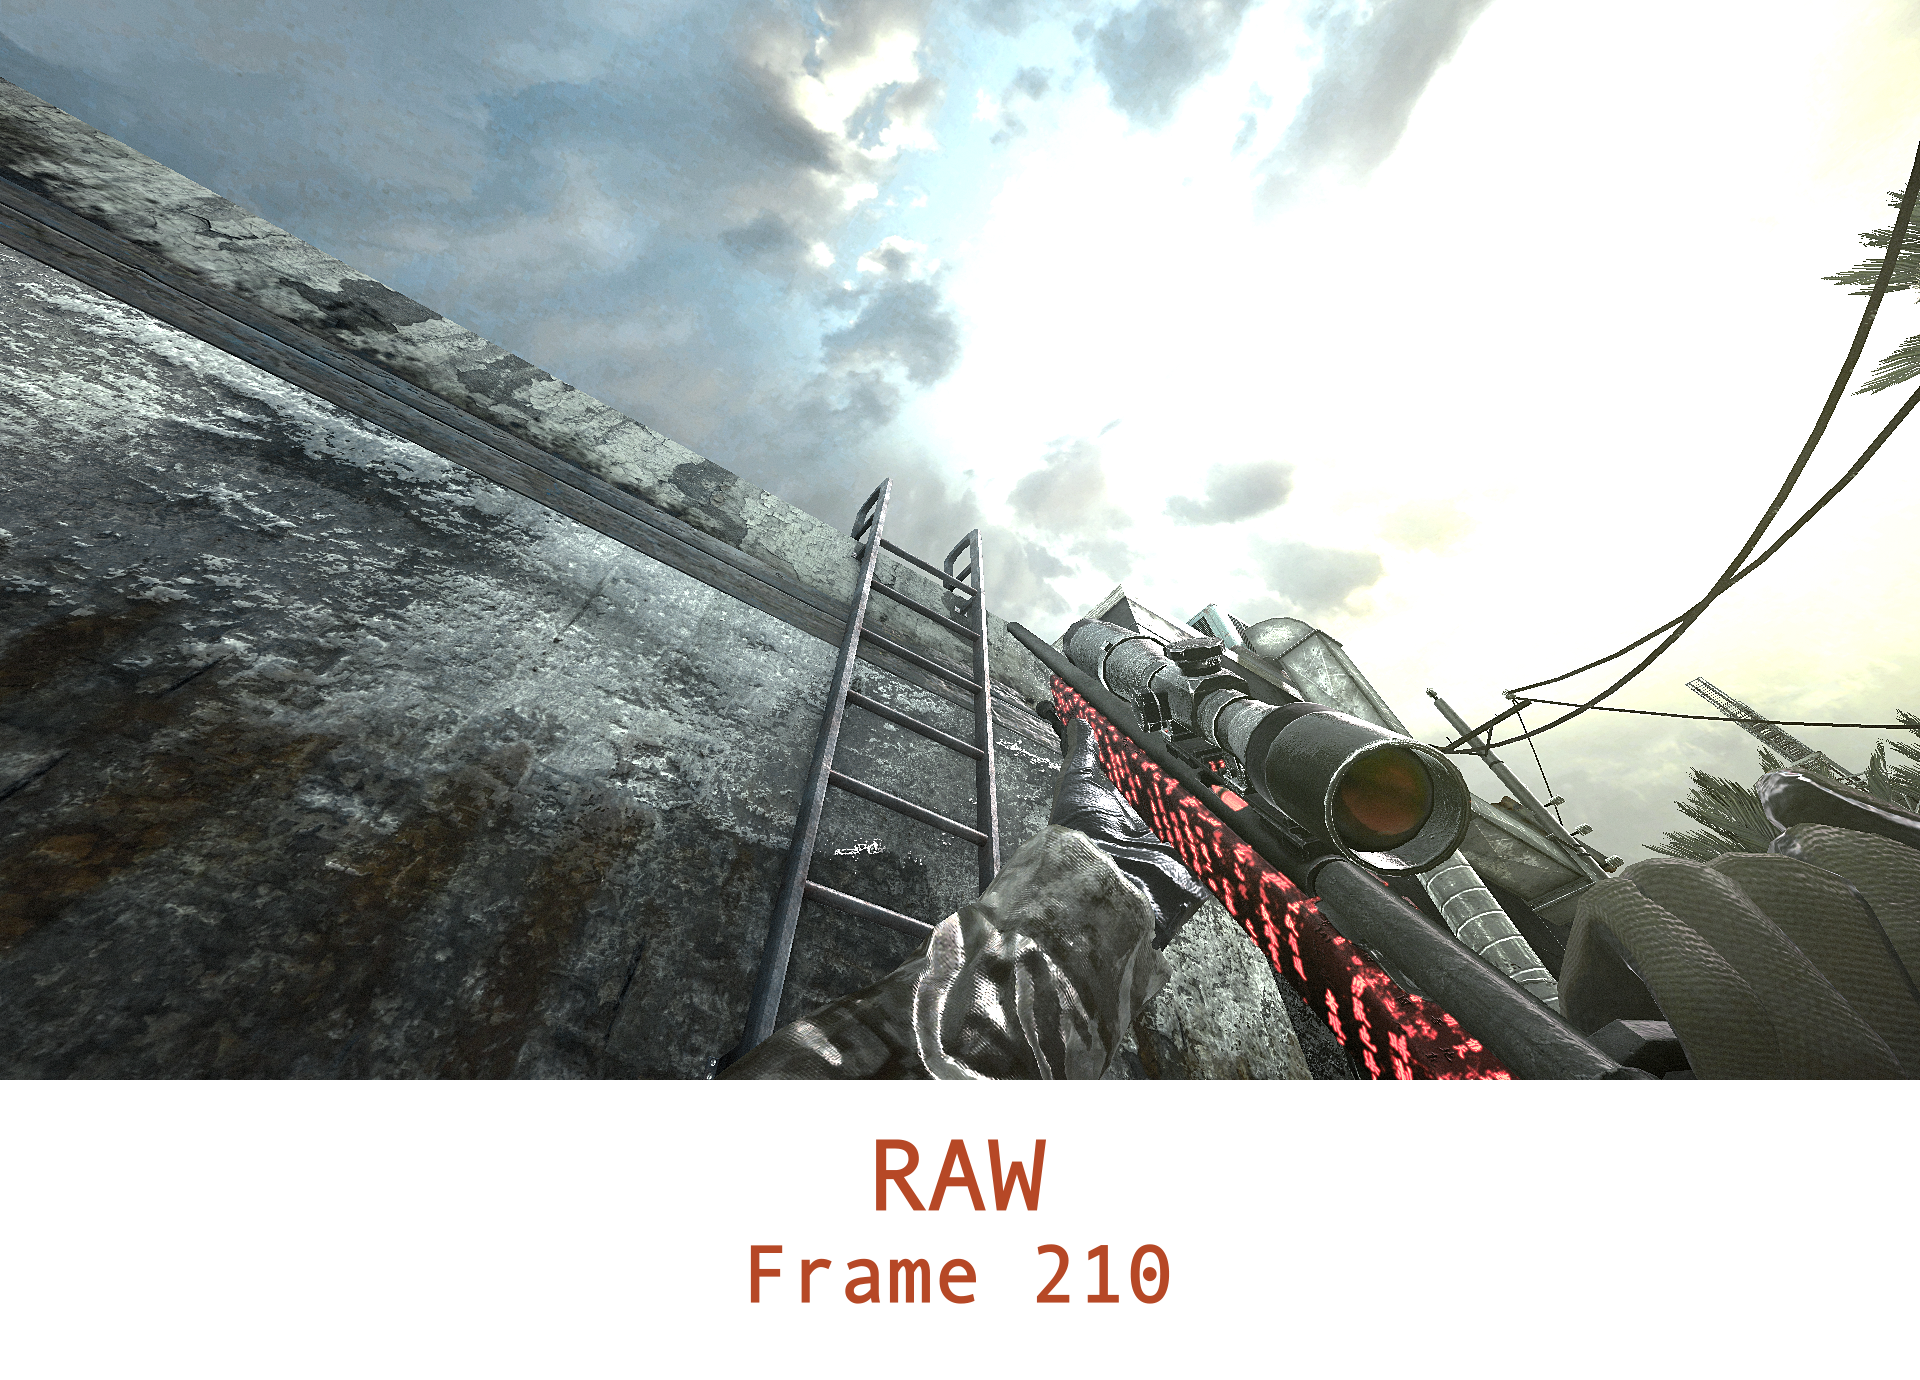
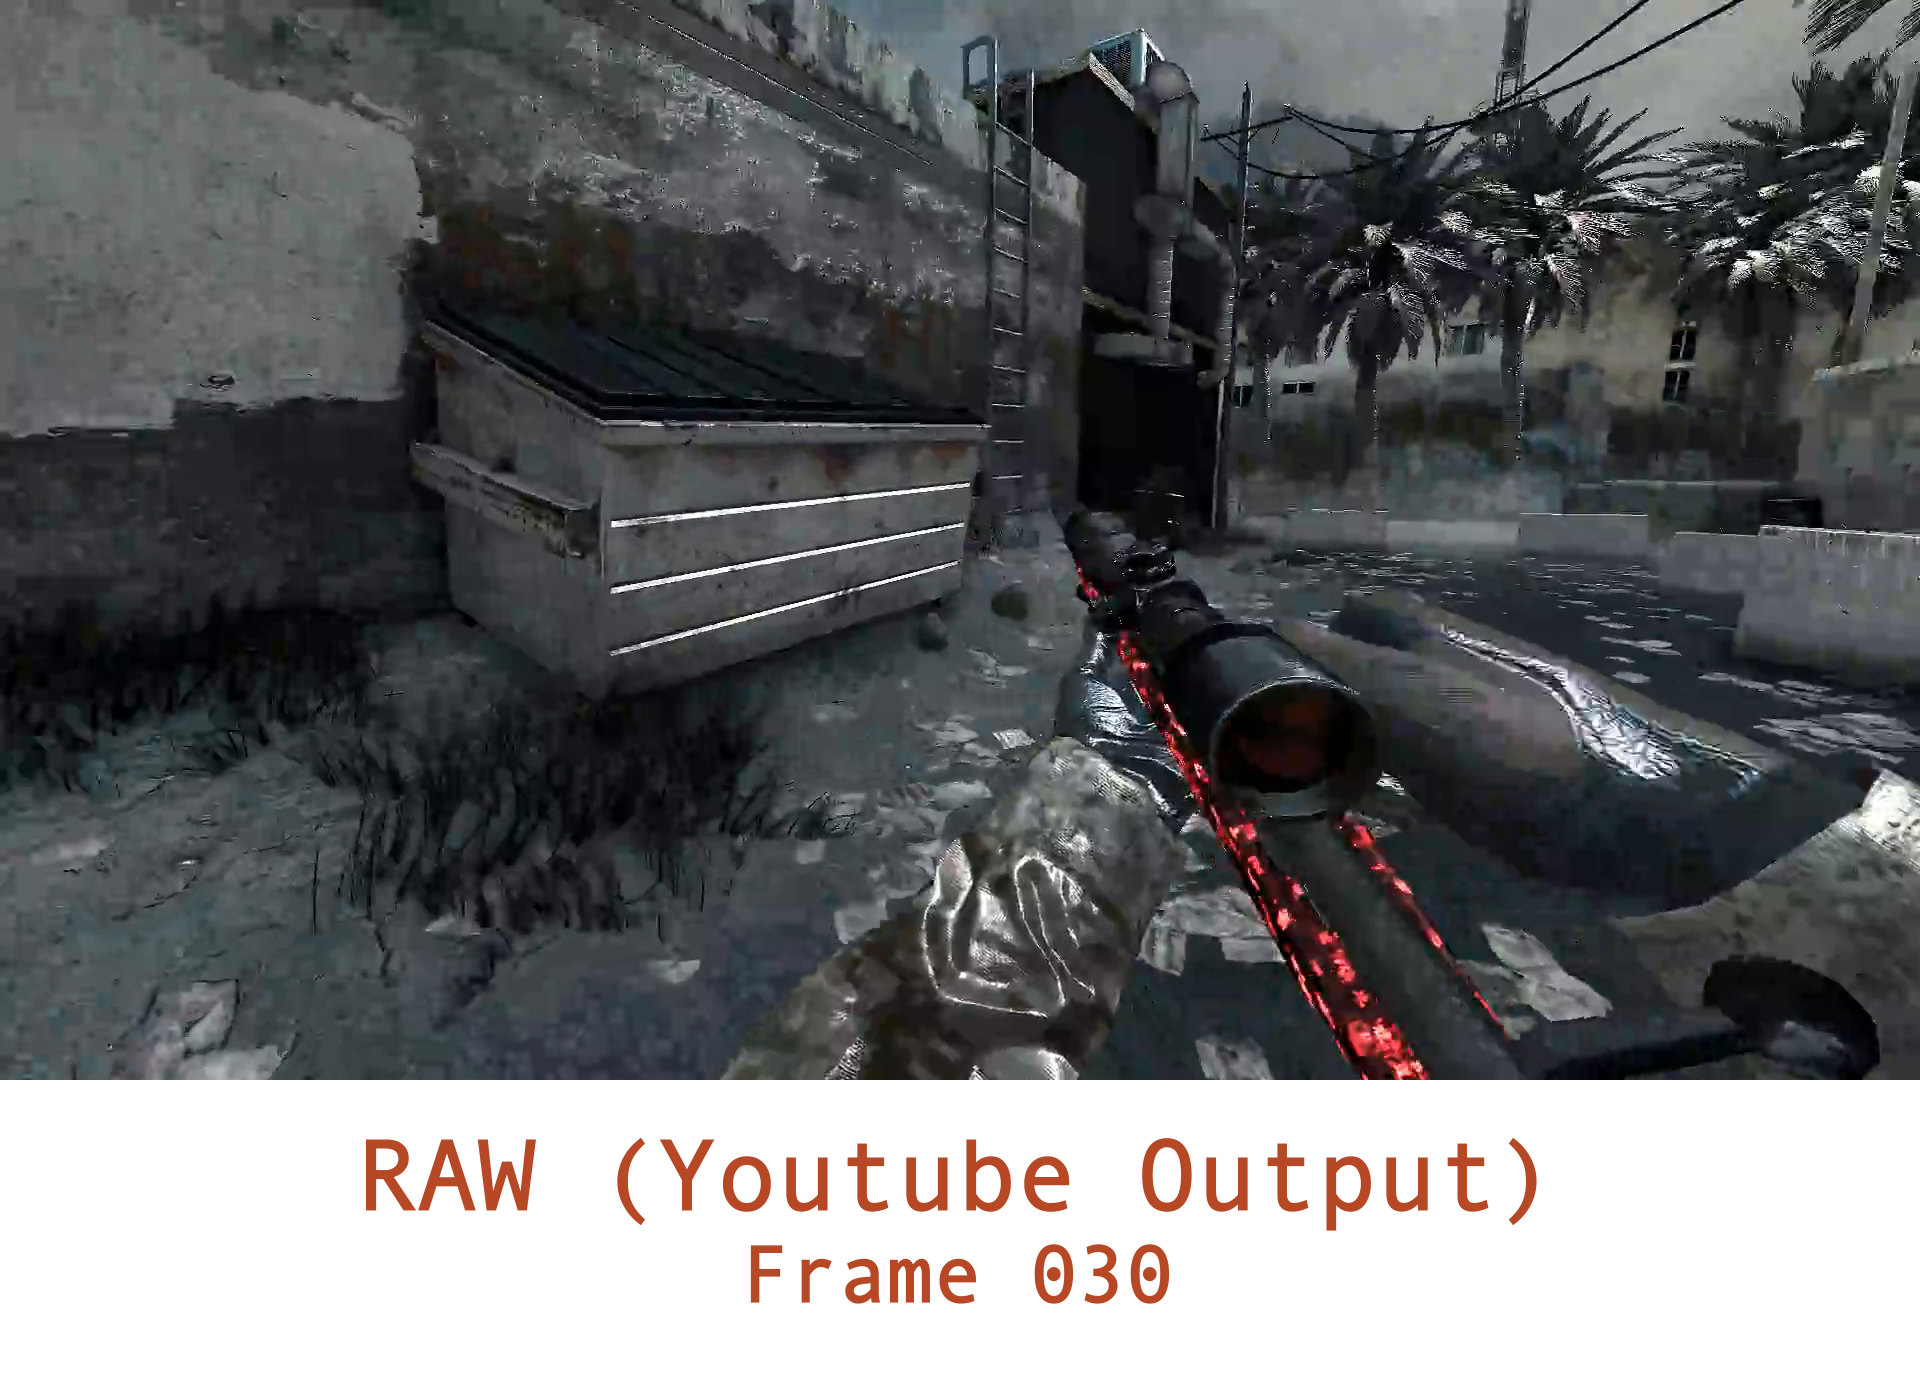
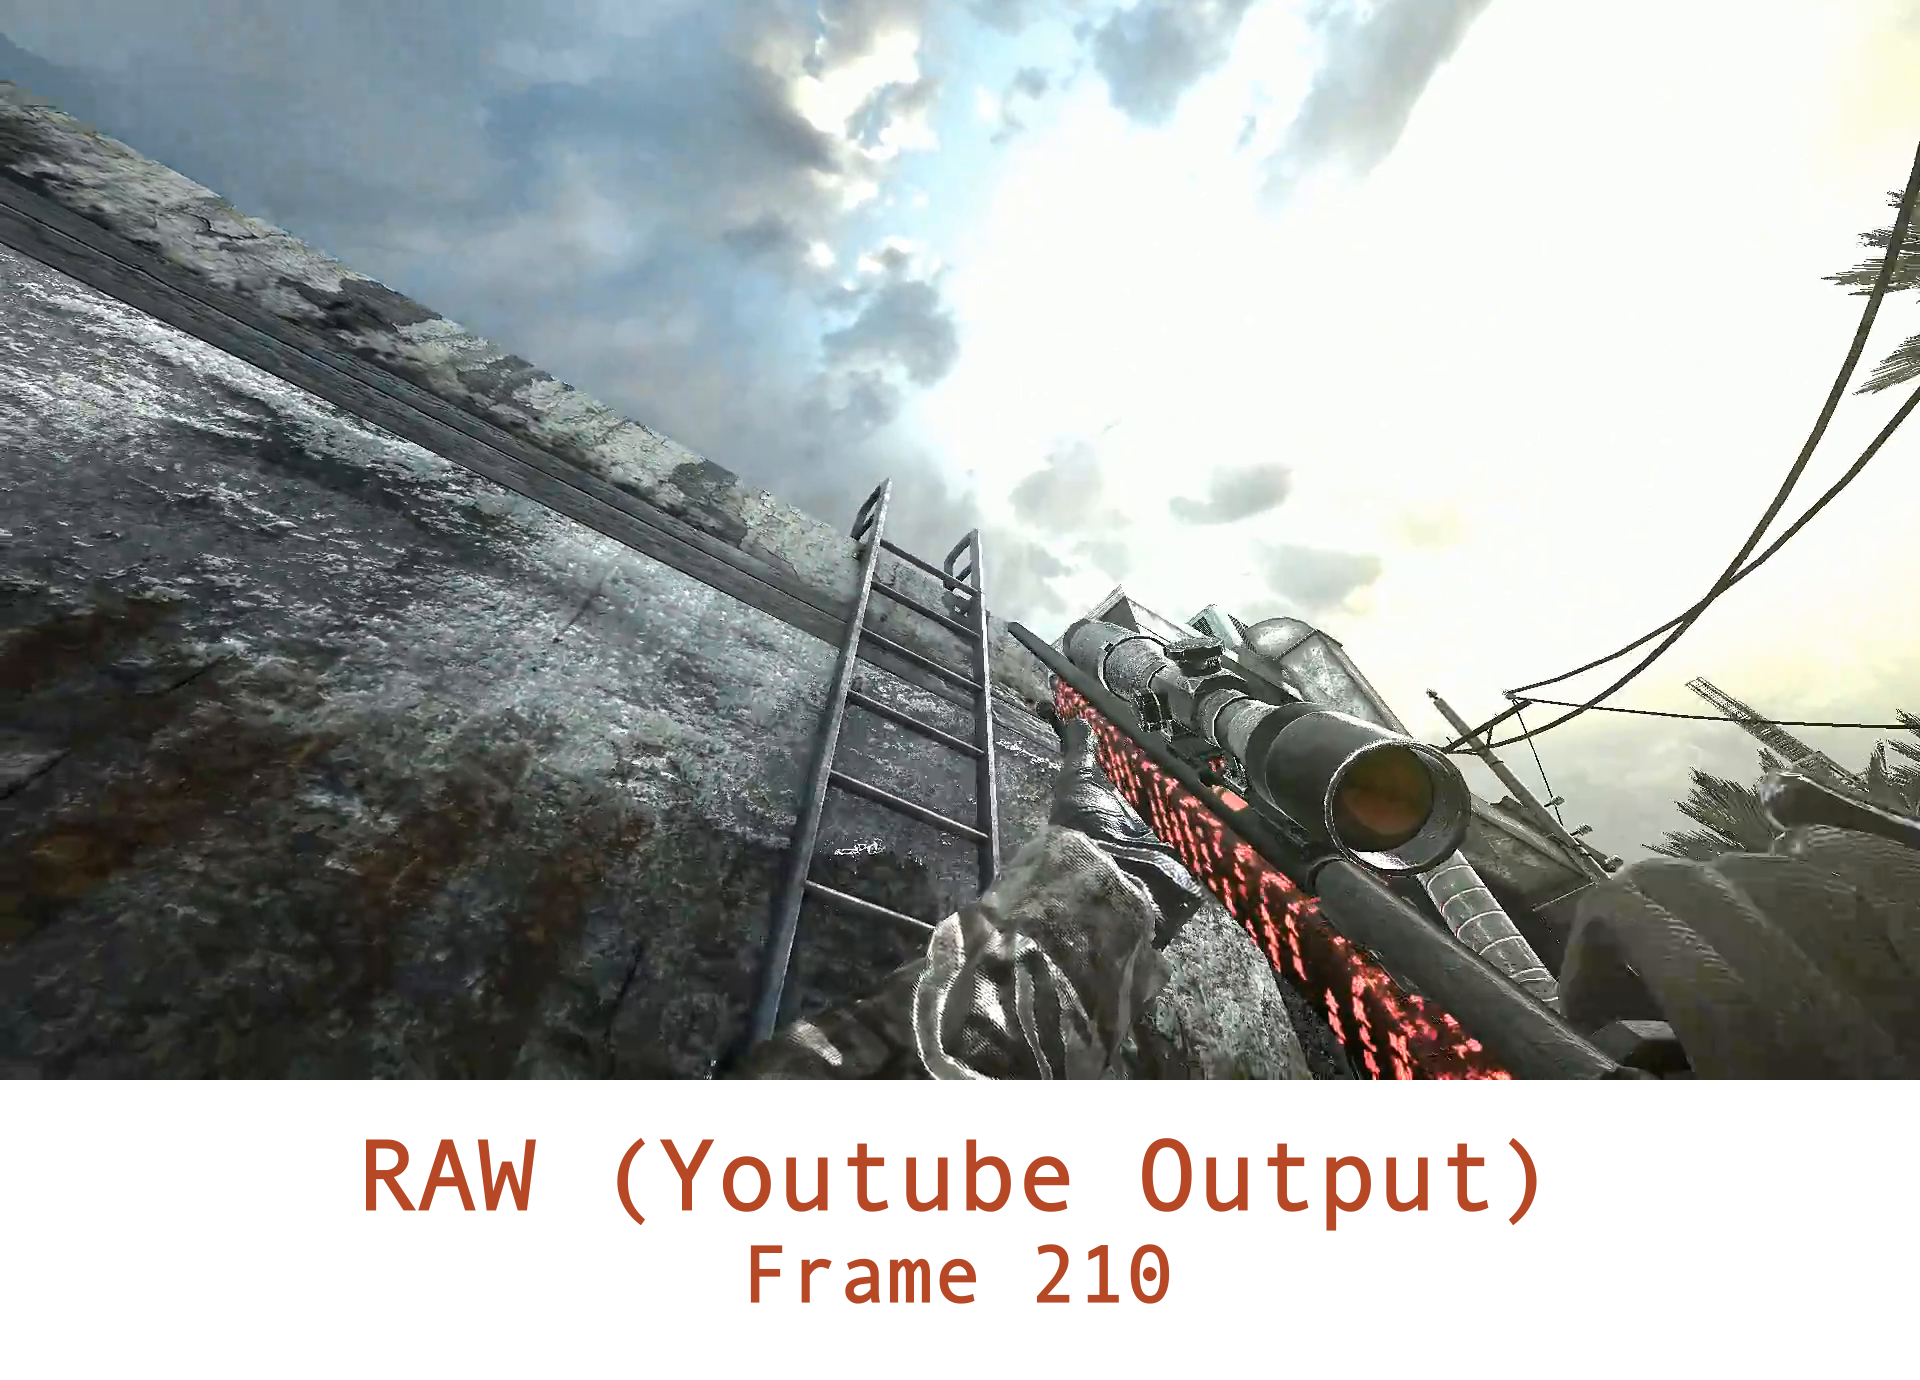
RAW VIDEO
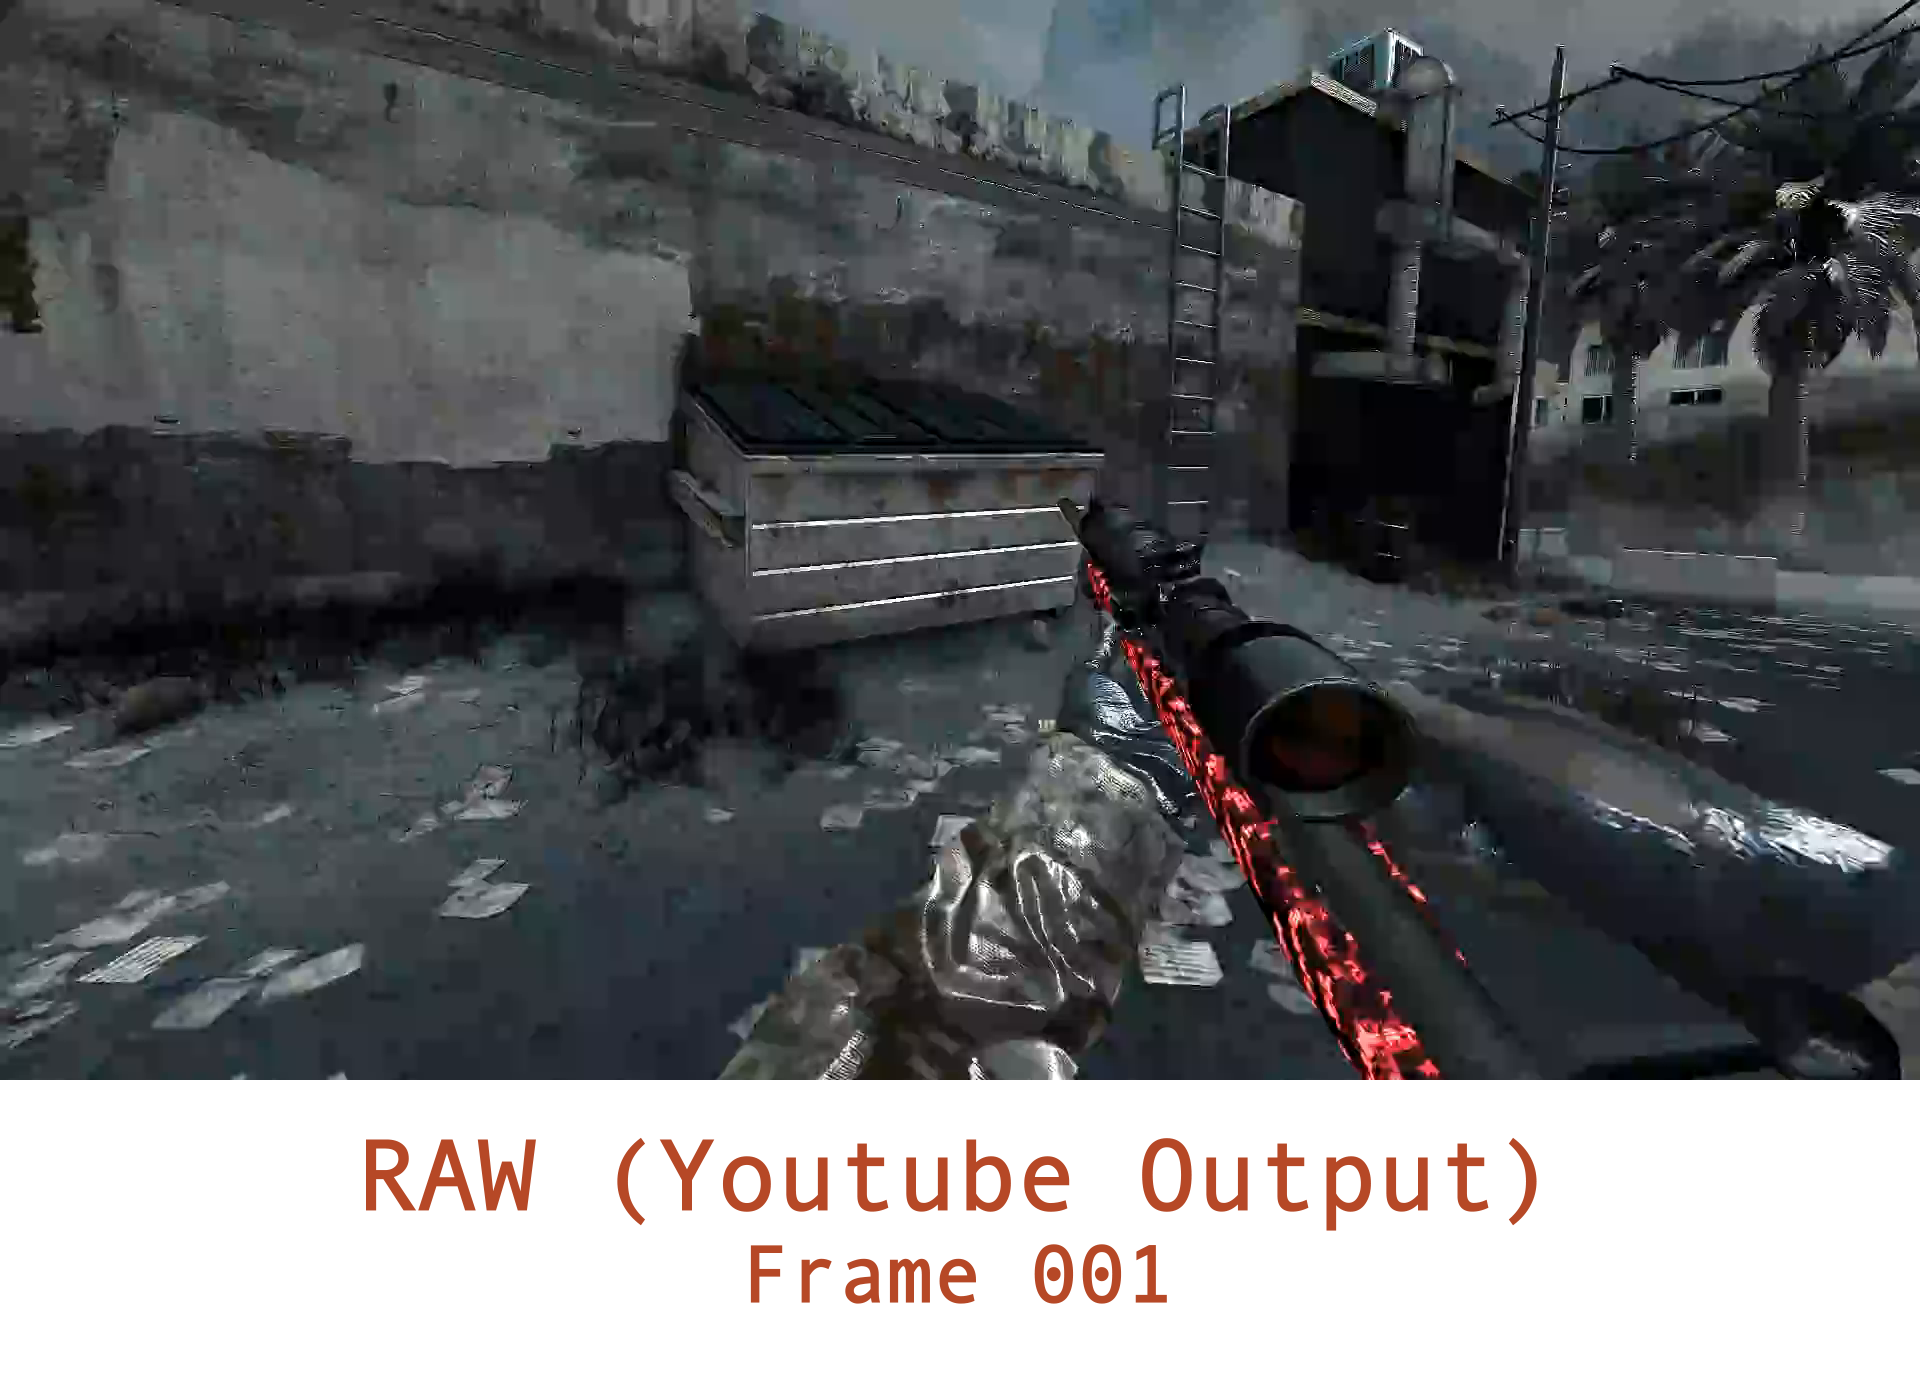
The following are uploaded to youtube and exported as their displayed format
Uncompressed
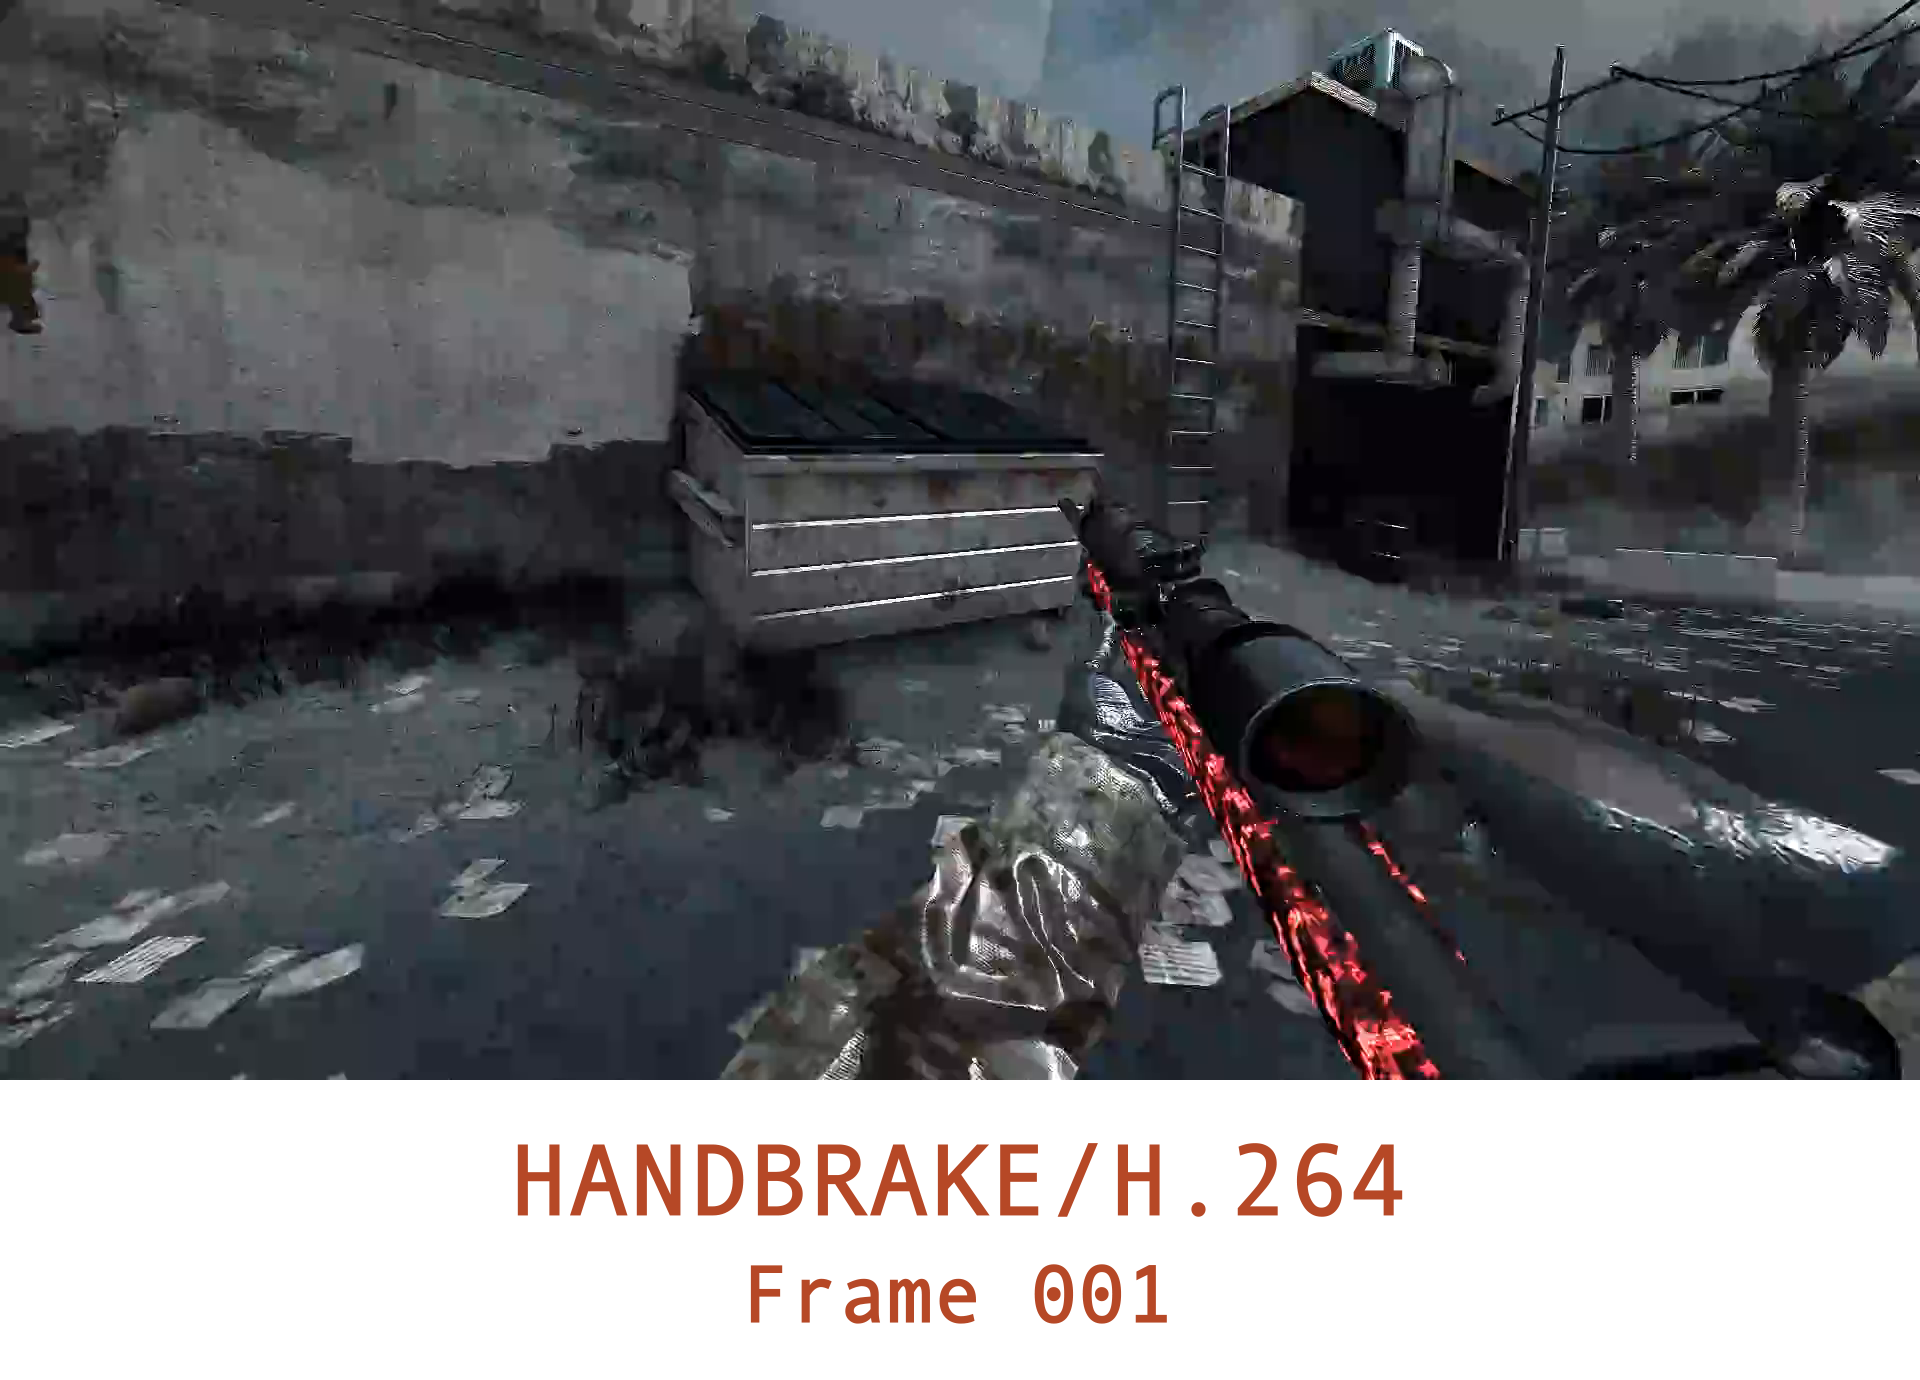
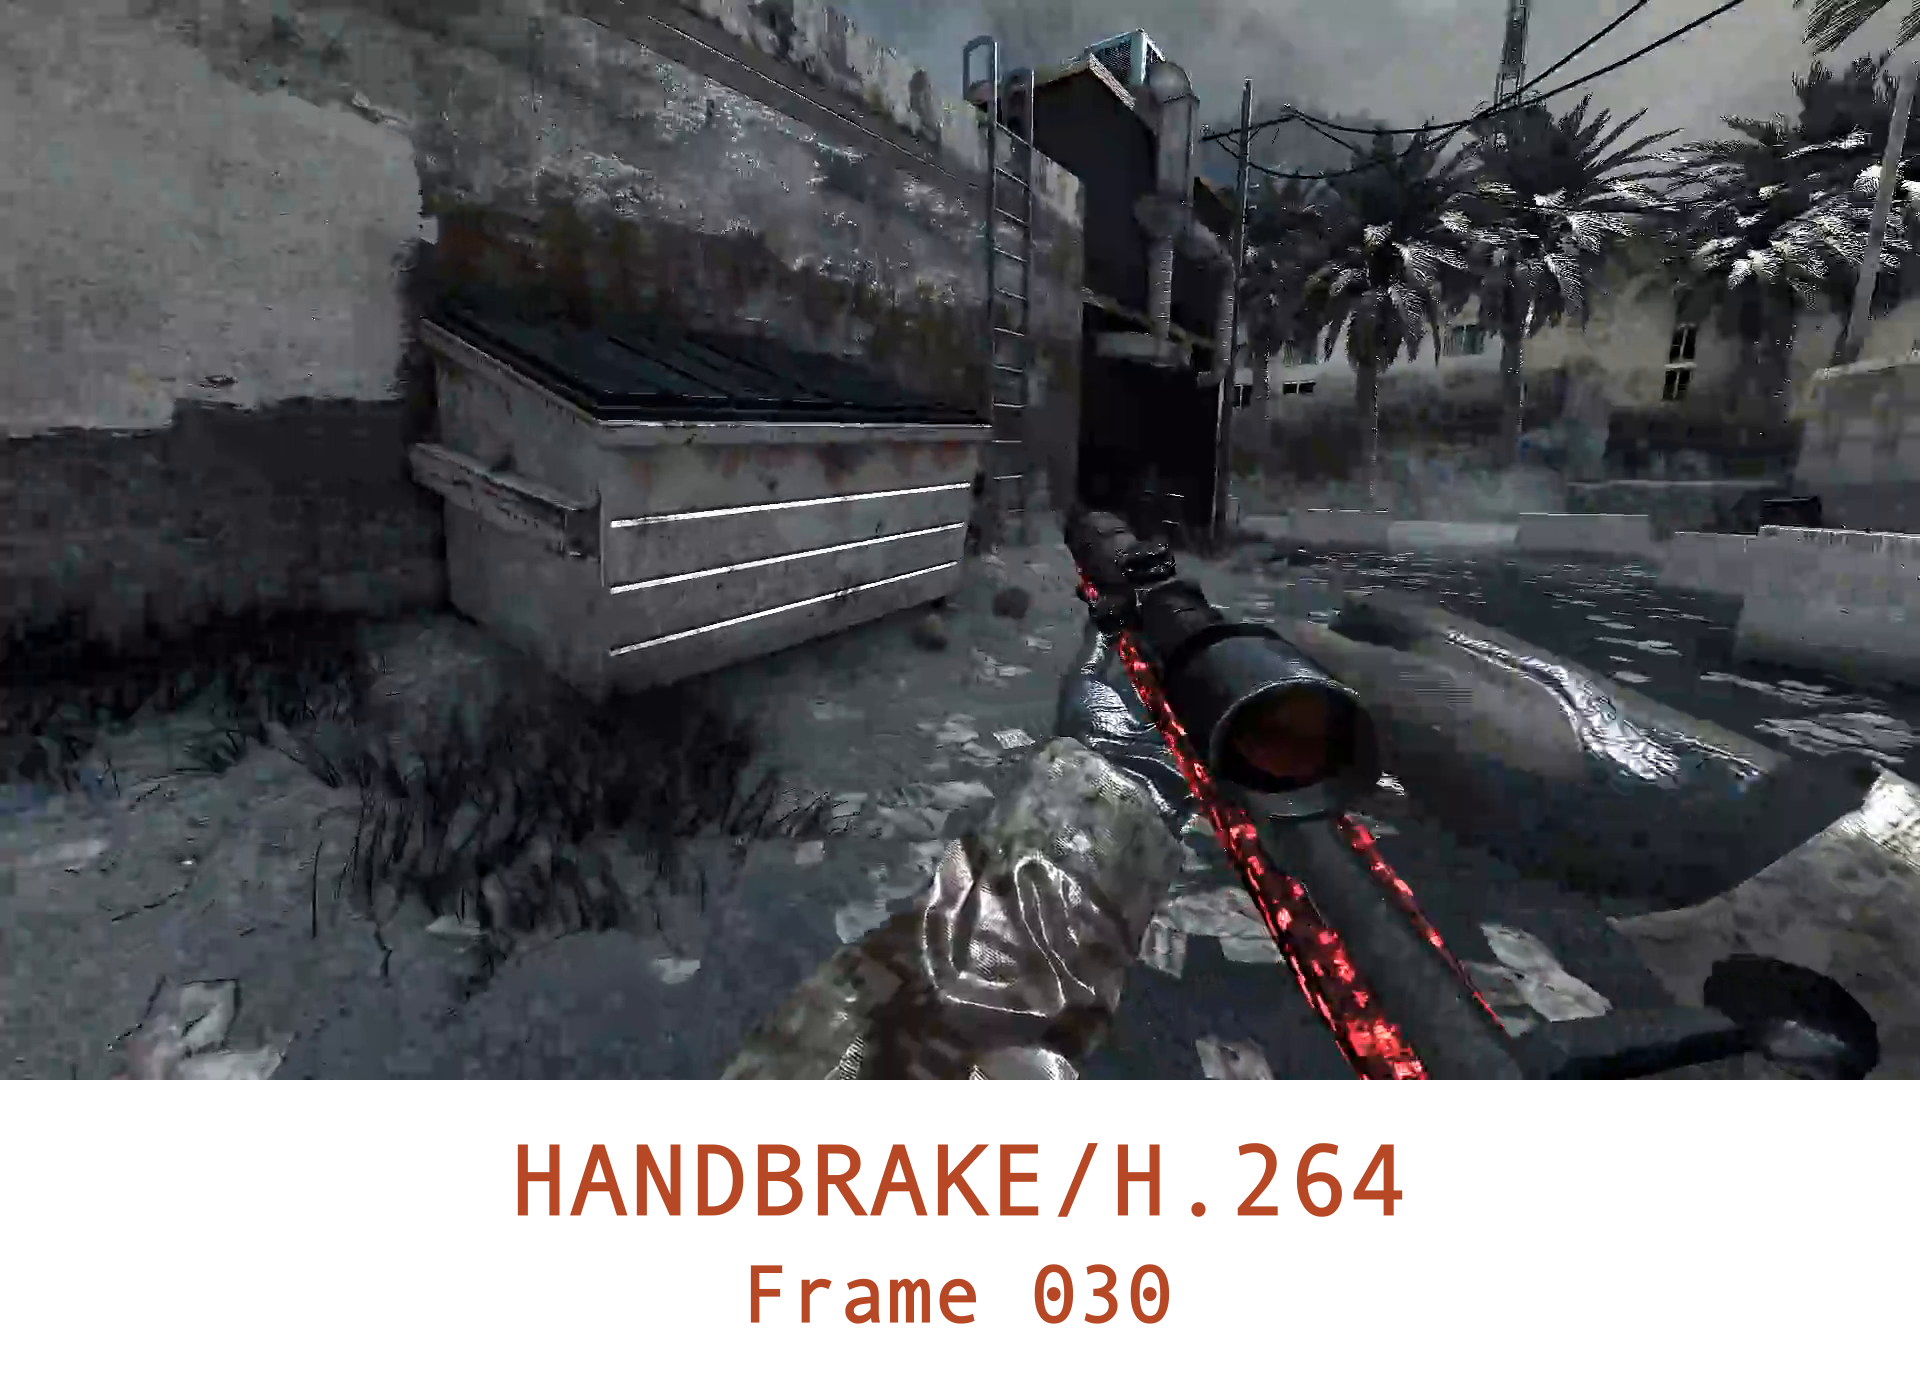
Handbrake (h.264)
MeGUI (h.264)
VDUB (Lagarith)
FFMPEG (Xvid)
You can go ahead and try to compare each frame with the raw version. To any normal human being, there may not be a big difference, just a few pixels blurred.. who cares?
To everyone who gets a hard on from high-quality videos, i've got good news! I compared a set of frames using a difference matte at 7.5% tolerance.
By counting the amount of black pixels, you start to see a noticable difference. It's a small difference, but big enough for those who seek the best quality possible.
If you look at the graph, you start to see a big difference between frame 1 and frame 30
The first frames will always be lossy, with the exception of the xvid codec. There really isn't anything you can do about that.
But what happens if we upscale the video?
Upscaling
Take a look at the output format youtube displays for each video (at 1080p)
299 mp4 1920x1080 DASH video 5773k, mp4_dash container, avc1.64002a, 48fps, video only, 3.48MiB
Once a video gets uploaded, youtube converts it to separate formats. 144p, 240p, 360p, 480p and 720p formats are generated from a 1080p source.
Just how many different formats are there? Take for example the video ran through handbrake, with 1080 as highest resolution.
The stats tell us it is using format code 299
Now take a look at all formats available:
Each video has different format options, i'm assuming some are for web, some are for mobile.
The formats displayed above are the formats youtube returned, when looking at the current stats.
Obviously 299 should be the highest.. right?
It appears there is is another format code, used only when there is a higher quality version of the video available
Instead of 299, it is using format code 303 with WebM as extension, which is primarily used for HTML5 players
Check the stats for nerds and see for yourself:
303 webm 1920x1080 1080p48 4664k, vp9, 48fps, video only, 2.80MiB
Comparing both formats you start to see a noticable difference, especially on the first frames.
And the difference mattes (All white pixels show the difference between the by YouTube encoded video and the raw footage)
We can put these results into a graph:
The graph displays the amount of black pixels from a difference matte with a tolerance of 7.5%
Final Result & Best settings
In the end, it doesn't really matter what codec or method you use, the differences are so minimal, you just have to make sure you get their settings right.
Ultimately, upscaling your video will give the best results. i highly recommend upscaling to at least 1440p.
Refer to methods to choose your preferred method.
Having a quick look at the first graph, xvid/ffmpeg should be your preferred method, but is this really the way to go?
In the end, the differences should vary, and i would actually have to run these tests multiple times before getting an accurate result.
Xvid wins by quality and speed on average. the filesize is decent, so the upload to youtube should be worth the wait.
You can download this little script i wrote to convert your uncompressed .avi files into the xvid format
Download the Xvid fast converter
NOTE: THIS SCRIPT REQUIRES FFMPEG, REFER TO REQUIREMENTS AND FOLLOW INSTRUCTIONS
Installing/Usage provided in the readme.txt shipped with the download
Read carefully before encoding!
Using a batch file like this is not optimal, so i recommend getting familiar with the command line and using that or creating your own batch file when running into issues.
This may take some time getting used to, but if you're familiar with making configs for cod games this will not be hard to get used to.
Input for standard xvid encoding:
-i, video input file: INPUT.AVI-c:v adds the compression method: mpeg4-vtag selects the codec: xvid-qscale:v sets the video quality: 1 (1 = highest quality/largest filesize, 31 = lowest quality/smallest filesize)
-qscale:a sets the audio quality: 1-g, GOP: 32-bf, b-frames: 32-y, overwrites output file without asking if one with the same name already exists.
I won't go much into detail about GOP (Group of pictures) and b-frames as i do not know the actual science behind them.
These two however play a significant role when it comes to the final video quality.
Read more:
GOPb-framesUpscaling (multiplying):
Here, scale=iw*1.5 (input width) determines the scaling factor during the encoding process. in this case the pixels get multiplied by 1.5.
If you have a 1920*1080 video, ffmpeg will encode and resize the video to 2880*1620, which will be displayed at 1440p resolution on youtube.
You can calculate the factor each time, but eg. using 1.333333 as floating point in the command line is not exactly accurate.
Writing down the final resolution may be your best option
Upscaling (pixel width/height):
Using the command line may seem a little difficult at first, but may be very useful to those doing alot of encoding.
For starters, the easiest way is by creating a batch file. You can do this using notepad.
Open up notepad, and write/paste the following:
@ECHO OFF
TITLE FFMPEG Script
ECHO This will be the welcome message
pause >nul
We can test this out by saving the file as an actual batch script and then opening it, Start with saving the file
Setting the right file extension is very important, once the save window pops up make sure to change the file type to All Files and add .bat at the end of the file name
The only thing left is to save the actual script in a directory alongside ffmpeg.exe and your video file.
Navigate to the batch script and open it by doubly clicking the file, you should see something like this:
This will be the welcome message
_
So far so good? It's time we add the ffmpeg command line
@ECHO OFF
TITLE FFMPEG Script
ECHO Press any key to start encoding
pause >nul
ffmpeg -i INPUT.AVI -c:v mpeg4 -vtag xvid -qscale:v 1 -qscale:a 1 -g 32 -bf 16 -y OUTPUT.AVIECHO Finished encoding
pause >nul
At this point, ffmpeg will look for a video file named INPUT.AVI in the same directory, to encode it into a newer video file, OUTPUT.AVI.
Note that you can change these two parameters to whatever you feel like.
Jim Thomas
3/8/2018

 The following are uploaded to youtube and exported as their displayed format
Uncompressed
The following are uploaded to youtube and exported as their displayed format
Uncompressed

 Handbrake (h.264)
 MeGUI (h.264)
 VDUB (Lagarith)


 FFMPEG (Xvid)


 You can go ahead and try to compare each frame with the raw version. To any normal human being, there may not be a big difference, just a few pixels blurred.. who cares?
To everyone who gets a hard on from high-quality videos, i've got good news! I compared a set of frames using a difference matte at 7.5% tolerance.
By counting the amount of black pixels, you start to see a noticable difference. It's a small difference, but big enough for those who seek the best quality possible.
If you look at the graph, you start to see a big difference between frame 1 and frame 30
The first frames will always be lossy, with the exception of the xvid codec. There really isn't anything you can do about that.
But what happens if we upscale the video?
You can go ahead and try to compare each frame with the raw version. To any normal human being, there may not be a big difference, just a few pixels blurred.. who cares?
To everyone who gets a hard on from high-quality videos, i've got good news! I compared a set of frames using a difference matte at 7.5% tolerance.
By counting the amount of black pixels, you start to see a noticable difference. It's a small difference, but big enough for those who seek the best quality possible.
If you look at the graph, you start to see a big difference between frame 1 and frame 30
The first frames will always be lossy, with the exception of the xvid codec. There really isn't anything you can do about that.
But what happens if we upscale the video?
 Handbrake (x264)
 The stats tell us it is using format code 299
Now take a look at all formats available:
The stats tell us it is using format code 299
Now take a look at all formats available:
 Each video has different format options, i'm assuming some are for web, some are for mobile.
The formats displayed above are the formats youtube returned, when looking at the current stats.
Obviously 299 should be the highest.. right?
It appears there is is another format code, used only when there is a higher quality version of the video available
Instead of 299, it is using format code 303 with WebM as extension, which is primarily used for HTML5 players
Check the stats for nerds and see for yourself:
Each video has different format options, i'm assuming some are for web, some are for mobile.
The formats displayed above are the formats youtube returned, when looking at the current stats.
Obviously 299 should be the highest.. right?
It appears there is is another format code, used only when there is a higher quality version of the video available
Instead of 299, it is using format code 303 with WebM as extension, which is primarily used for HTML5 players
Check the stats for nerds and see for yourself:
 Comparing both formats you start to see a noticable difference, especially on the first frames.
 We can put these results into a graph:
The graph displays the amount of black pixels from a difference matte with a tolerance of 7.5%
We can put these results into a graph:
The graph displays the amount of black pixels from a difference matte with a tolerance of 7.5%
